DIY Dog Washing Station for the Mudroom or Laundry Room
There are few things in this world that Americans love more than their homes and their pets. But with muddy pawprints, shedding hair, and expensive trips to the groomer, keeping both clean can feel like a never-ending battle. The good news? A DIY dog washing station in your mudroom or laundry room gives your pup a spa-like experience—without sacrificing your floors or your sanity. This guide shows you how to transform your mudroom or laundry room into a puppy paradise with the help of Pioneer Industries.
Step 1: Choose and Prep Your Space
The two most important factors to consider when setting up your dog bathing station are space and plumbing access. Most laundry rooms and mudrooms already have plumbing hookups. Plan for at least 3 square feet of clear space for the bath area. You also want to consider waterproofing on the wall and floor when setting up your tub. Choose the room with the most water-resistant flooring. If neither of them has waterproofing, install moisture-resistant tile, vinyl, or waterproof paint if needed.


Step 2: Gather and Organize Your Materials
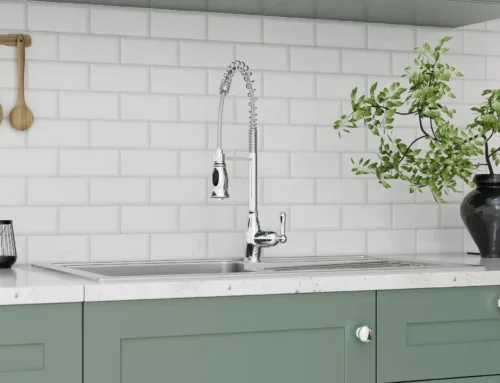
Start by selecting either a deep utility sink to fit a smaller dog, or a shower base or raised pet tub for larger breeds. To add traction to keep your dog from slipping, we suggest you buy a rubber mat for the base of your tub or basin. We also suggest that you look into additional storage and towel racks so that you are ready to both wash and dry your furry friend.
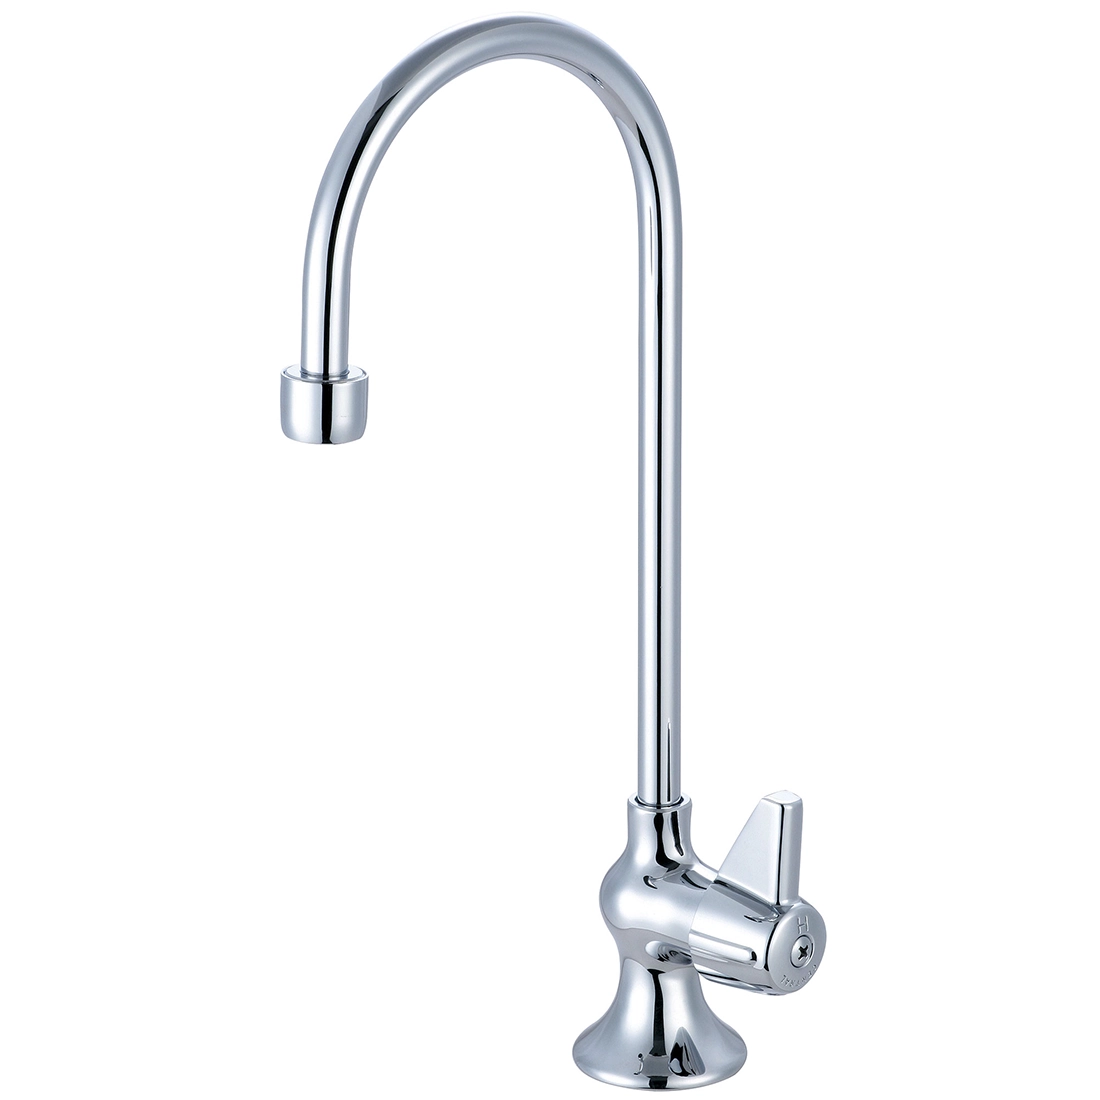
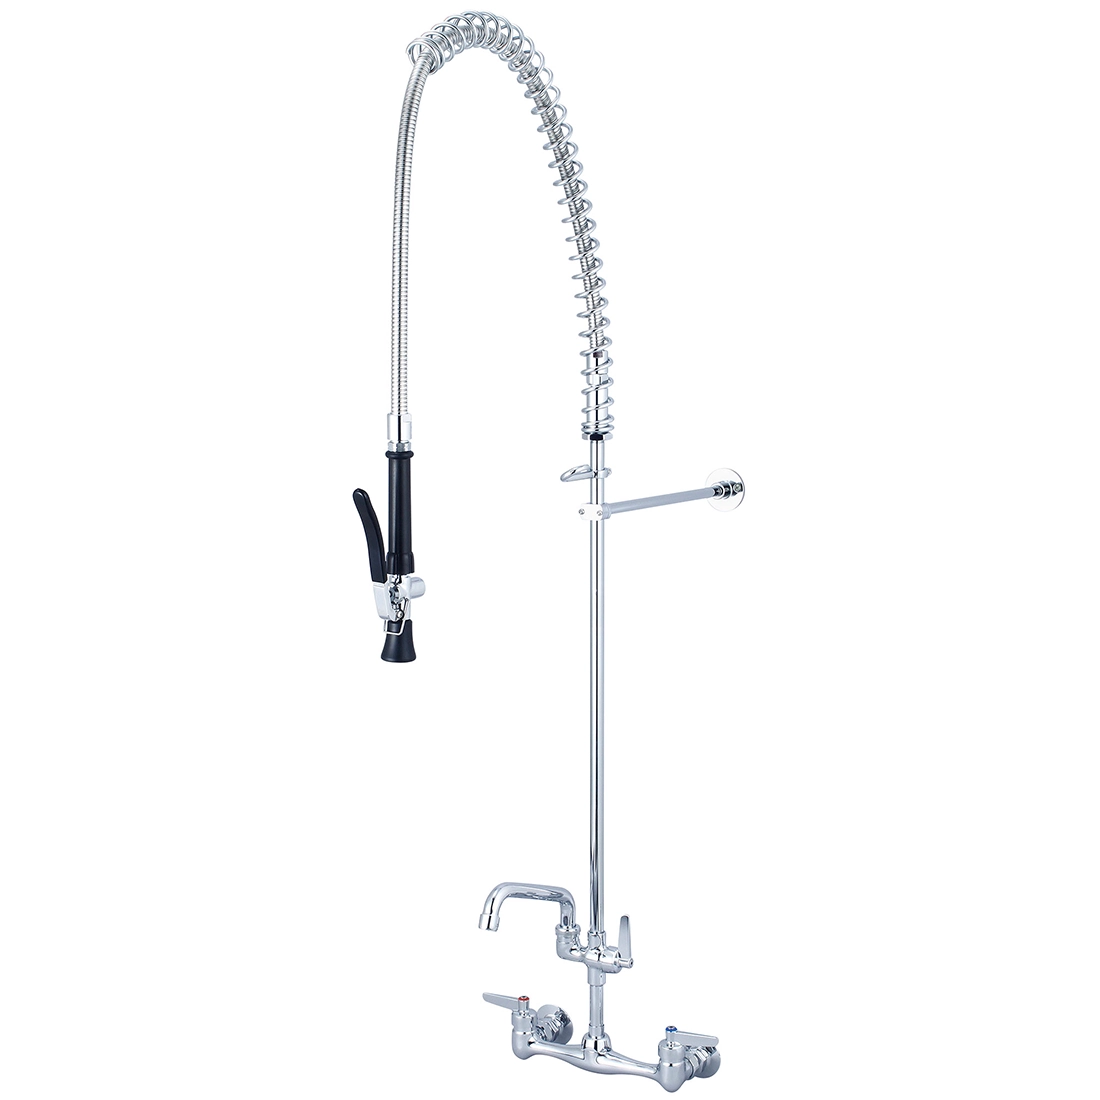
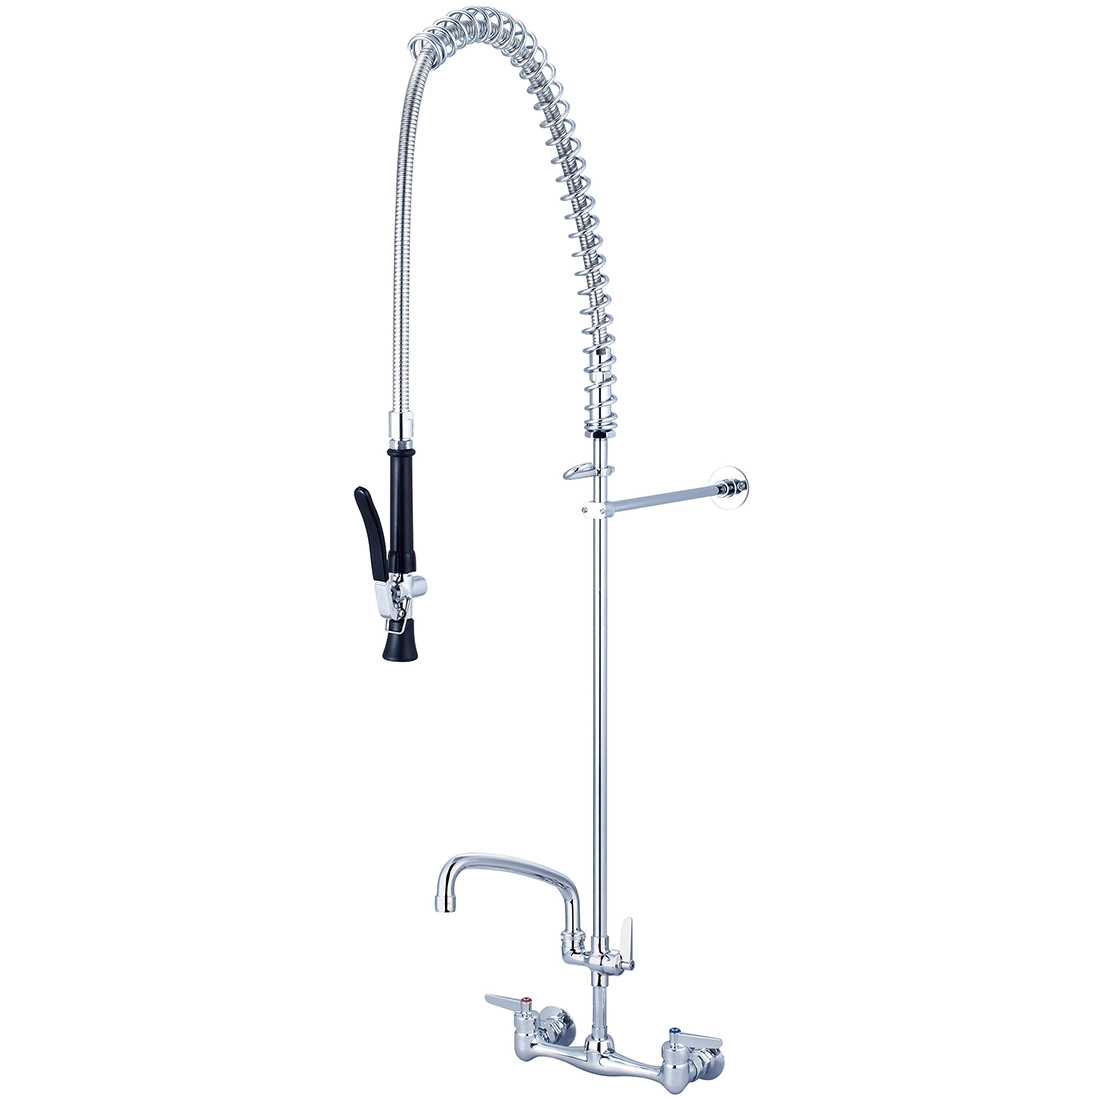
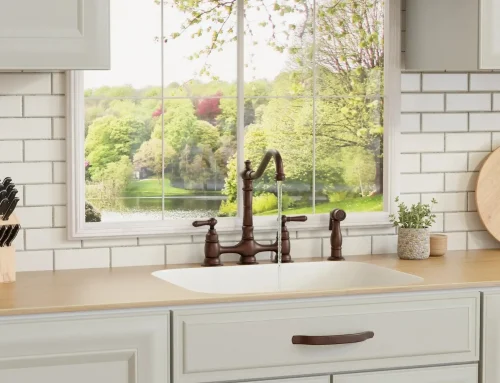
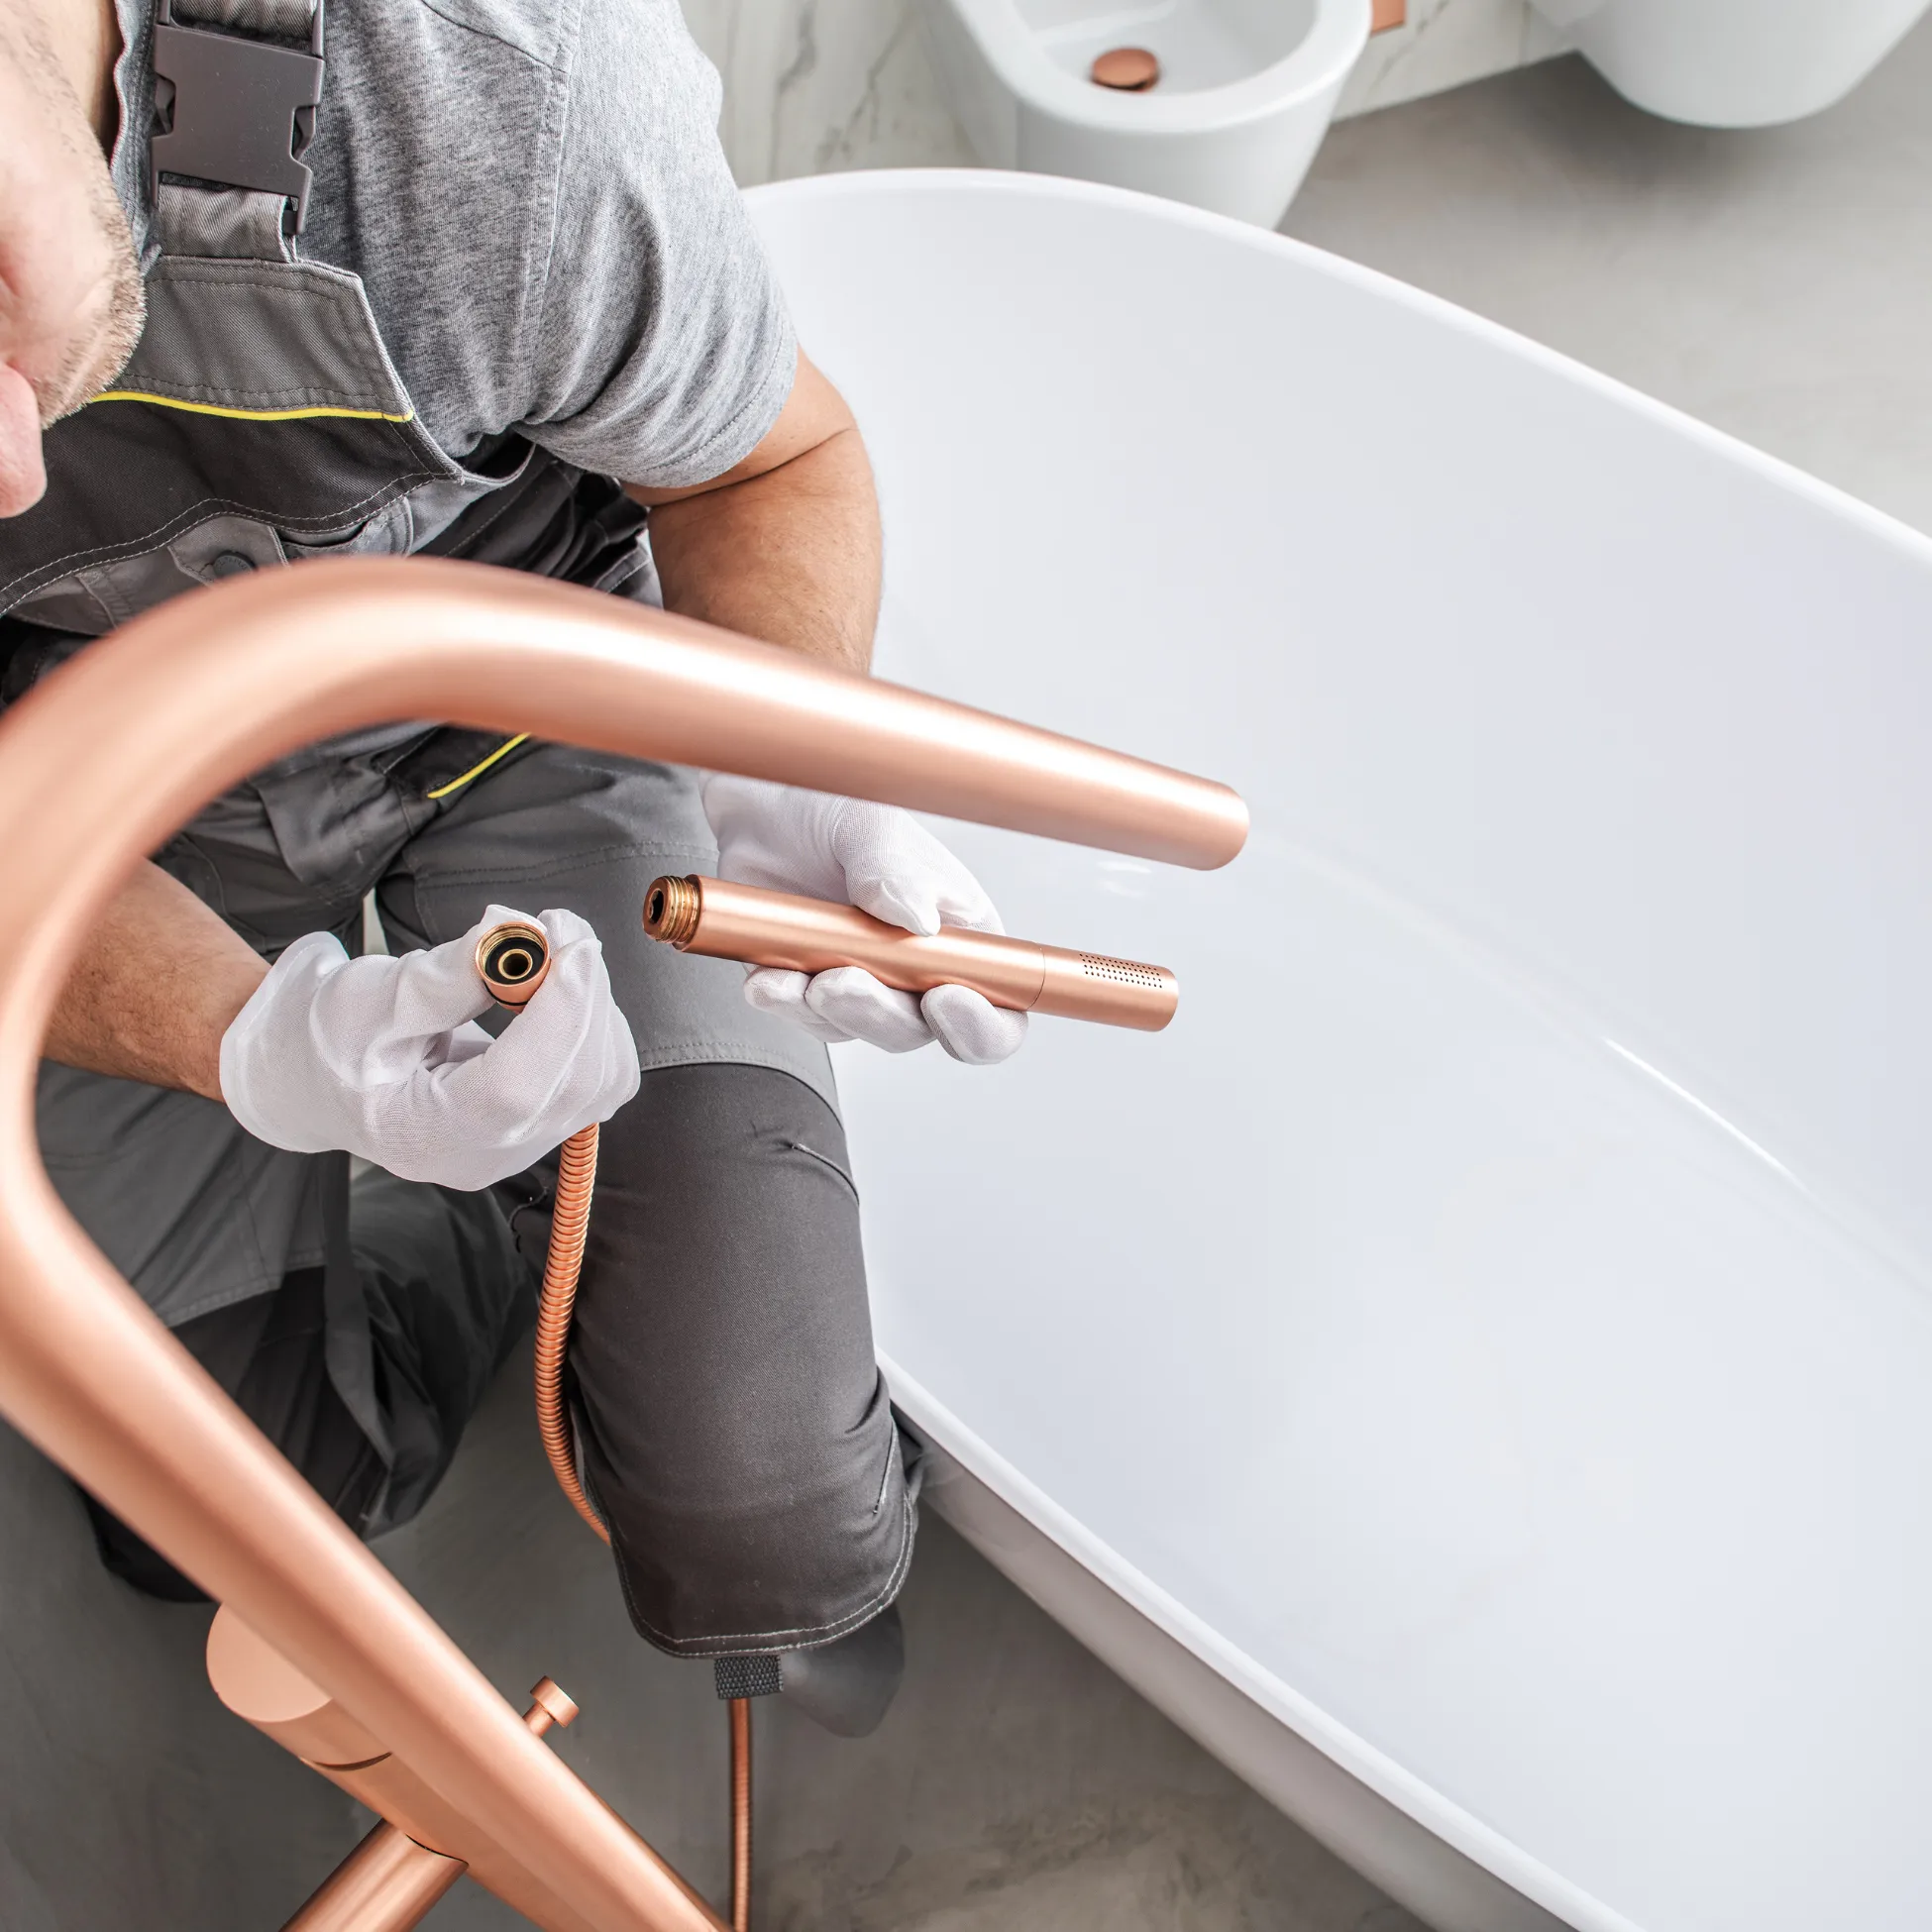
As far as plumbing parts you will want to choose one of Pioneer Industries’ many utility sink faucets with pull-out sprayers to make sure that you can wash your pup from all angles. We suggest the i2 Olympia Single Handle Pre-Rinse Spring Pull-Down Kitchen Faucet or the Mod Pioneer Handheld Shower Set if you have a larger dog and/or need more flexibility to move around. Connecting to that faucet you will need a flexible hose, shutout valve, drain pipe, and plumber’s tape. Plumber’s tape ensures a tight, leak-proof seal between the faucet and hose and the hose and the shutoff valve will be especially important to prevent any water damage to your home should any of your pipes or valves fail, saving you from expensive repairs to your home.
Step 3: Install the Tub and Plumbing
Choose a tub height that’s comfortable for both you and your dog. We suggest that you choose a waist-high sink for smaller dogs, while larger dogs might require a floor level washing station so that you don’t have to worry about lifting your heavy pet in and out of the tub. If using a raised tub, secure it to the wall studs for stability.Secure the tub to wall studs or a sturdy frame to prevent shifting during use before proceeding with plumbing.
Next you will want to connect your flexible braided supply lines to both the hot and cold water lines which will be located next to the utility sink in most laundry rooms and mudrooms. By using these supply lines as your connection hoses, you will reduce the strain on the connections and prevent risks of future breakages. After that you will want to install a p-trap pipe to connect to your tub for proper drainage. Ensure space for the p-trap and a proper slope for drainage. Once you have the lines connected, wrap the threaded hose and faucet connections with plumber’s tape for a watertight seal.

Step 4: Install Faucet and Sprayer
Now that your tub is in place and your plumbing is roughed in, it’s time to install one of the most important and most used components of your dog washing station: the faucet. Your selection should have a pull-out faucet to spray your dog from every angle as well as a standard faucet if you want to fill the tub for a nice doggy bath. To save space we suggest choosing a wall-mounted faucet so that you will have a snug fit with the wall, while a deck-mounted faucet would also be ideal if you are using a raised utility sink next to pre-existing counter space. Connect the faucet’s threaded ends to the hot and cold supply lines. Once connected you will want to turn on both sides of the faucet to make sure that both hot and cold water are connected and working properly for your pampered pet.
Step 5: Final Touches
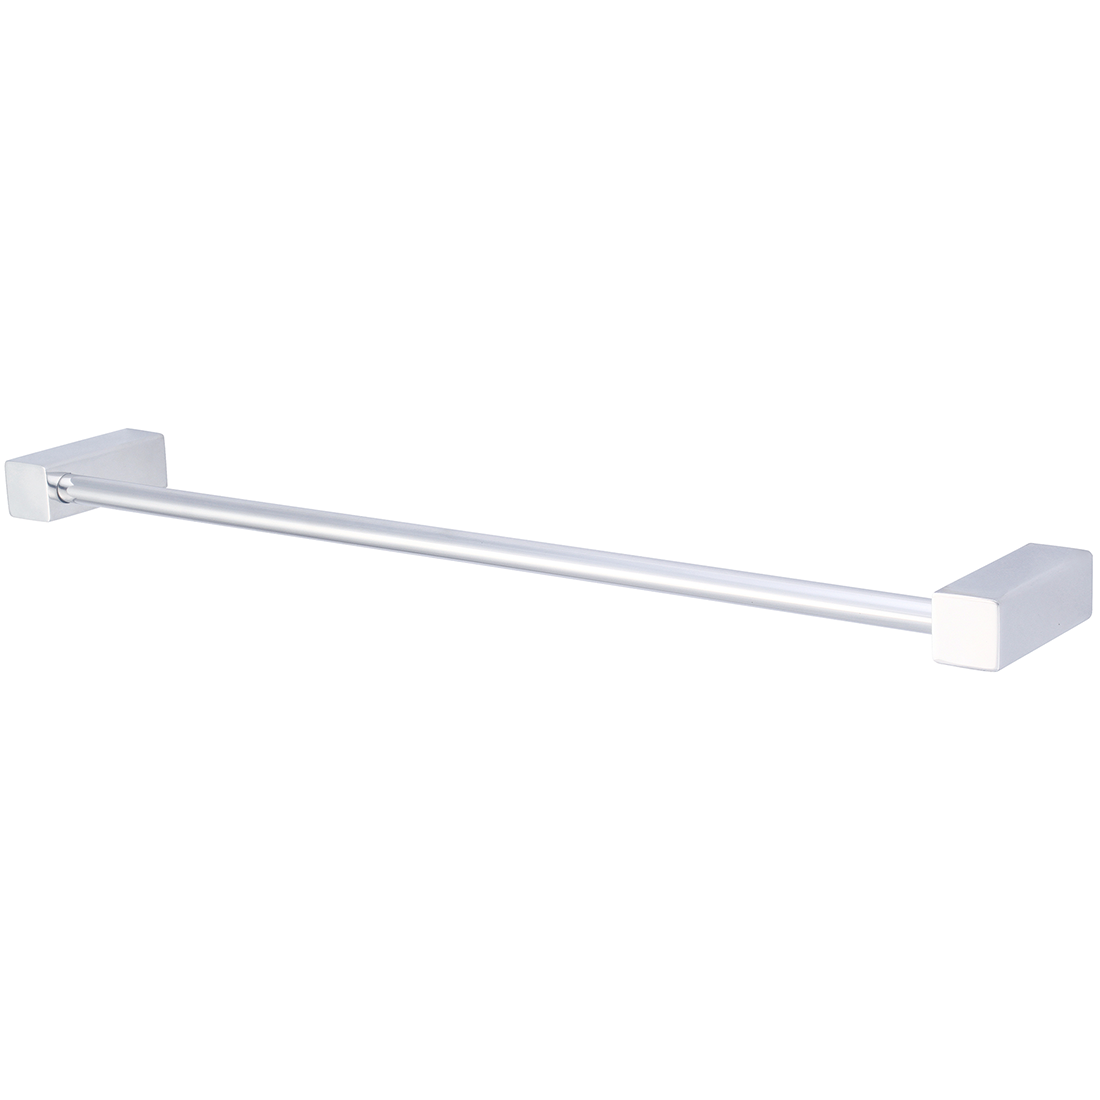
The final touches start with safety. Place a non-slip mat in the tub to keep your dog steady. You then want to install your Pioneer Industries towel rack to make sure that you’re ready to dry your dog off immediately after you wash them, before they have a chance to escape and track water all over your house.
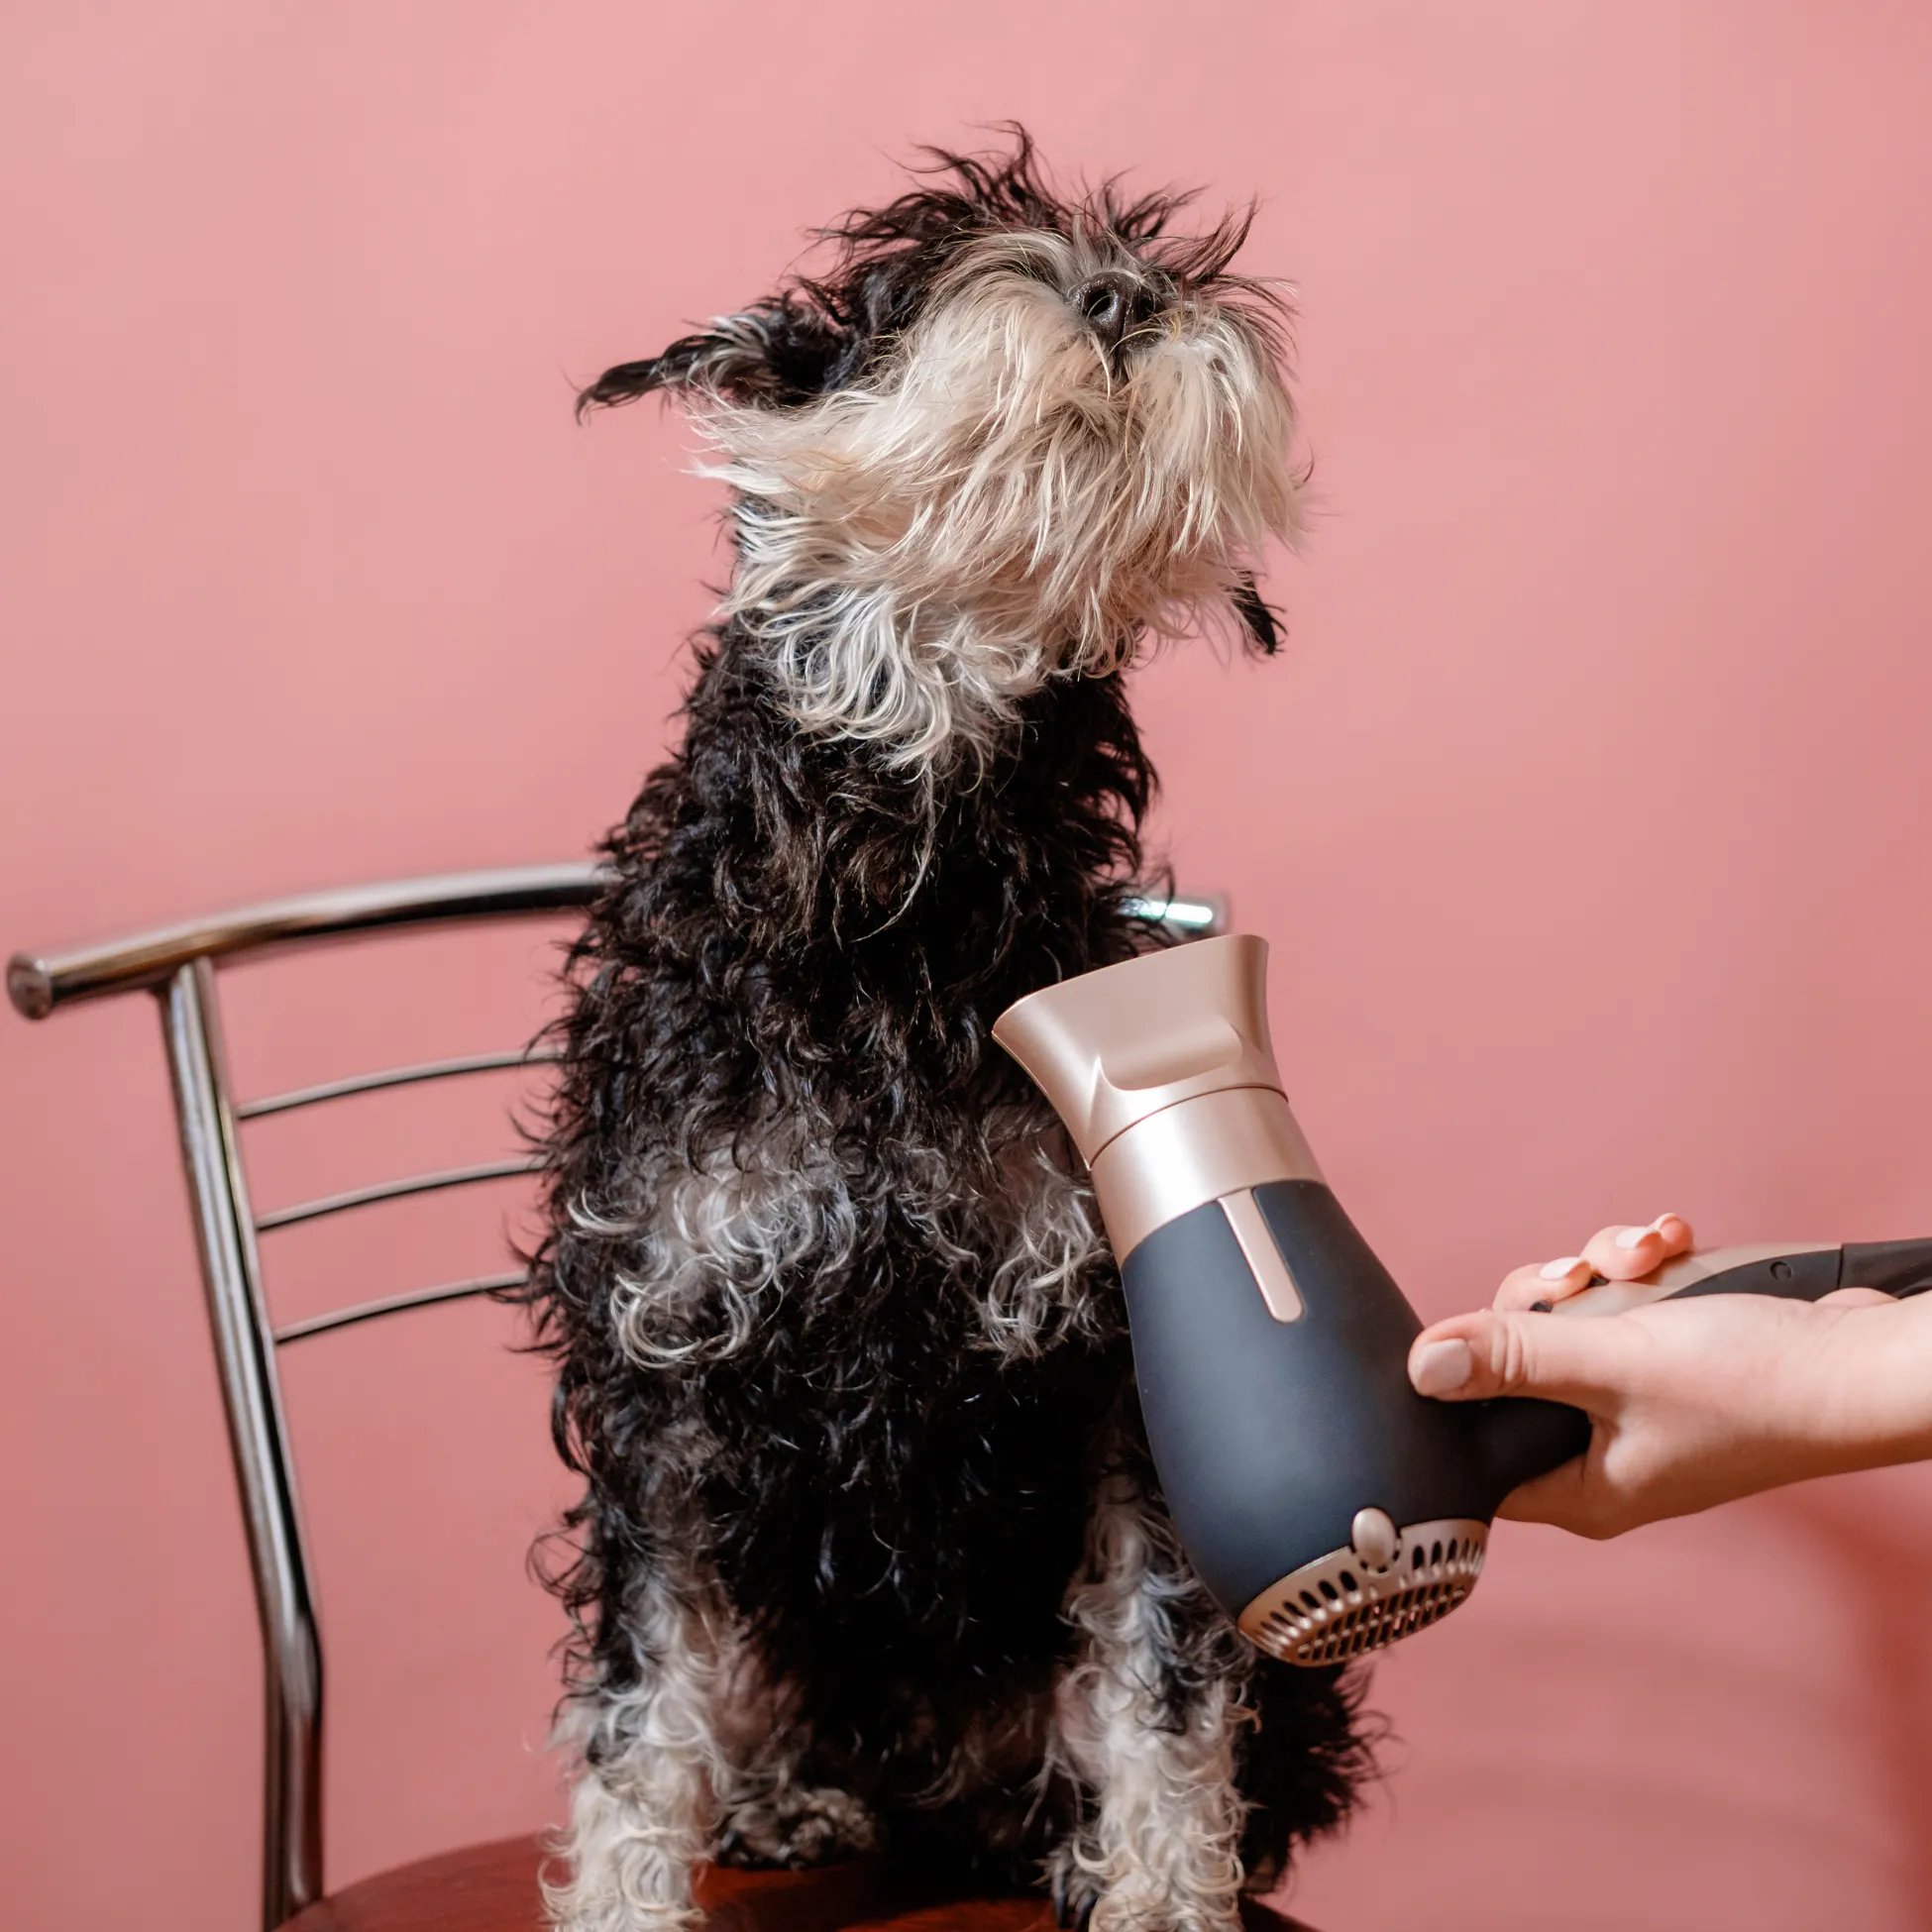
If you really want your pet to get the spa treatment, you will want to add a little bit of flair to your project. Wall-mounted pet shampoo and hand soap dispensers can be added from Pioneer Industries for extra style and flair to your wash station. A hair dryer is a nice piece of flair to really blow out your pet’s hair to make them look salon fresh.
Lastly you will want to prepare for the aftermath of your dog’s bathing experience. We suggest that you install a drain hair trap to prevent any drain clogging due to dog hair. Keep a squeegee or cloth nearby to dry the area and prevent mildew from ruining your dog’s spa experience.
Wrapping it Up
With just a bit of planning and some DIY spirit, your mudroom or laundry room can become the ultimate dog-washing zone—keeping your home cleaner and your pet happier. A well-designed station with the right features, like a durable, sprayer-equipped faucet from Pioneer Industries, turns bath time from a chore into a breeze. Small upgrades like these make a big difference for the lives of both homeowners and their pets.
Pioneer, Olympia and Central Brass
With just a bit of planning and DIY effort, your mudroom or laundry room can become a functional, stylish dog washing station that simplifies life for pet owners. And when it comes to choosing fixtures, you can trust Pioneer, Olympia, and Central Brass to deliver lasting performance, thoughtful design, and reliable availability. With over 100 years of industry experience, these brands offer space-saving, durable faucets that are easy to install, backed by an industry-leading warranty, and built to handle everyday use with ease. Whether you’re upgrading a single-family home or a multifamily project, Pioneer and its family of brands offer the quality and peace of mind every homeowner—and every pup—deserves.
We’ll Save You Money and Time
There are many ways to the same destination. This saying applies to multifamily housing builds just as much as to anything else in life. The ultimate goal is save as much money as possible while delivering a great finished project – that’s simply showing smart business sense. But, finding a one-off deal or sacrificing quality isn’t the only way to get a healthy ROI. We have a better way.
Pioneer works with professionals every day to develop specification packages and plans that save our valued partners both time and money, sometimes in surprising ways. It’s our goal to ensure your project meets or exceeds its expected outcome. We want to get to know you and your company and show you how we can save you money. Please reach out via our website form or call us at (800) 338-9468.
Our Top Product Choices for Tenant Satisfaction: