Installing Wall-Mount Faucets on Tile Without Cracking: Pro Tips
Wall-mount faucets are a wise choice for areas with limited counter space or for a unique look, but installing them on delicate tile surfaces presents challenges. Proper preparation, the right drill bits, and methodical execution will protect your investment. Our experts created this handy guide so you’ll know which are the proper tools and techniques that must be taken into account to successfully install wall-mount faucets without cracking the surrounding tile. The patience required is up to you!
Essential Tools and Materials for Tile-Safe Installation
A crack-free installation begins with assembling a toolkit, from diamond-tipped drill bits to painter’s tape and cooling supplies, before making a single mark on the tile surface. Attempting to install a wall-mount faucet on a tile wall with normal household tools increases the likelihood of failure, so it is worth the investment to buy specialized equipment beyond standard drill bits and basic tools.
Begin with diamond- or carbide-tipped drill bits. These drill bits are non-negotiable for cutting through ceramic or porcelain tile cleanly without chipping or cracking. Regular steel drill bits generate excessive heat and friction that can cause tiles to crack, and often their edges are too soft to properly cut through tiles, which creates a safety hazard. When purchasing bits, select sizes matching the diameter of mounting screws, pipe connections, and anchors specified in the faucet’s installation manual. These holes typically range from ¼ inch to ⅜ inch for most wall-mount bathroom faucets.
The next tool required for installation is something that most people have in the toolbox already, painter’s tape. When applied to the drilling area, this tape creates a textured surface that prevents the bit from sliding and scratching surrounding tile. It also marks the intended drilling location. You’ll also need a level and measuring tape. These tools ensure precise hole placement, preventing the need for corrective drilling.
Drilling this hole will create heat and dust, so it is smart to use the proper precaution. Safety glasses protect against debris, while a damp sponge or spray bottle of water can help cool the drill bit while drilling to prevent damage from friction-induced heat.
Anchors are essential to keep the faucet securely in place after installation. While most faucets include either drywall, cement board, or concrete anchors to help support the fixture’s weight, not all faucets are built alike. That is why it is important to check to make sure that a secure anchoring device is available before the installation process begins.
The most important tool in this process is a variable-speed drill. To prevent cracking the tile, it is essential that the hole is drilled slowly to prevent chipping and cracking. You’ll need a drill that can operate at low speeds, ideally between 200 and 400 RPM, which is far slower than speeds used for drilling through wood. Ideally, these drills would also come with sensitive trigger control that allows gradual speed increases rather than sudden acceleration, allowing precise control over drilling speed. With all of these tools secured, it is time to start the installation process.


Measuring, Marking, and Preparing the Tile Surface
It is a common adage that one should measure twice and cut once – excellent advice! Wall-mount faucets require exact hole placement for proper function and alignment, and once a hole is cut there is no opportunity to go back to fix any mistakes. Always consult the faucet’s installation manual for precise measurements between mounting holes, height above the sink or vanity, and distance from wall edges.
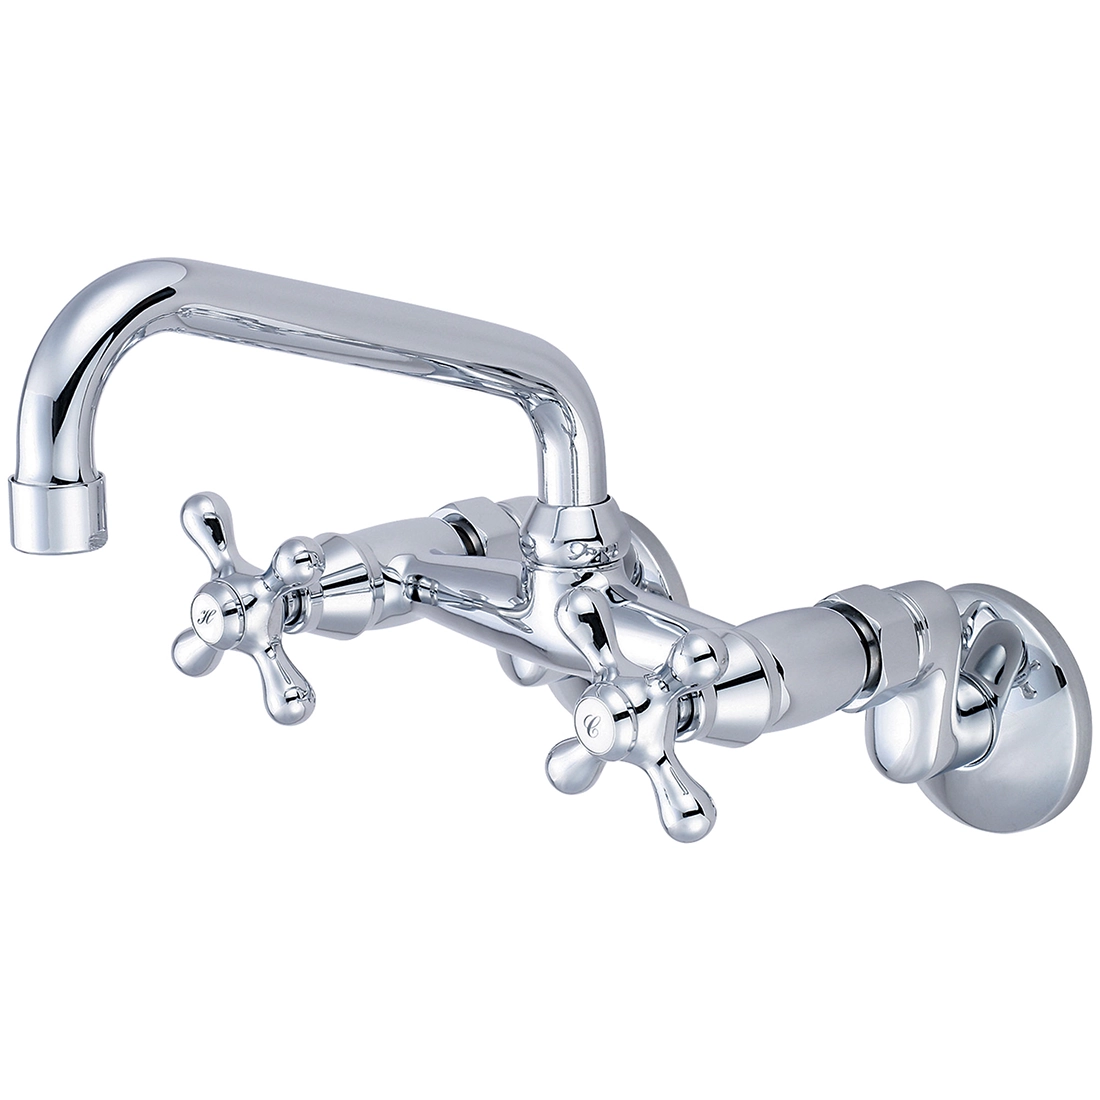
Wall-mount faucets are typically installed 4 to 6 inches above the sink basin, though not all faucets are the same. Many of these faucets simplify that process by providing paper templates showing the exact hole spacing for models like the Pioneer Two Handle Wall Mount Faucet 2PM540. Taping these templates simplifies the process and is very helpful. Use a level to make sure that the template is level and straight before taping it to the wall.
For faucets without a template, measure the hole diameter needed, then apply tape in that size and shape to the intended drilling location to prevent bit slippage. Whenever possible, position mounting holes in grout lines rather than directly on the tile as grout is more forgiving and easier to repair should issues arise. With the surface prepared and locations marked accurately, proper drilling technique becomes the most critical factor in preventing cracks.
Drilling Through Tile Without Cracking: Step-by-Step Technique
Step 1: Start slow and maintain steady pressure. Set the drill to its lowest speed and begin with light and consistent pressure, allowing the diamond or carbide bit to gradually score the tile’s glazed surface. Apply gentle pressure, allowing the tool to do the work and cut at its own pace rather than pushing hard to accelerate the process.
Step 2: Keep the drill perpendicular to the wall’s surface throughout the entire process to prevent the bit from wandering or creating oblong holes. Make sure to avoid activating a drill’s hammer or impact setting when working with tile, as the percussive force will cause cracks or shattering.
Step 3: Cool the bit regularly, as excessive heat causes the tile to expand and crack around the drilling point. Stop drilling every 10-15 seconds to apply water with a damp sponge or spray bottle to cool the drill bit and tile surface.
Step 4: Reduce pressure when breaking through. As the bit nears the back of the tile, there should be a slight change in resistance. This signals that the user should reduce pressure even further to prevent sudden breakthrough that chips the tile’s rear surface. The last millimeter requires the lightest touch to avoid damage.
Step 5: Complete the hole and clean up. Once completely through the tile, switch to a masonry bit to connect to a concrete backer board or a standard bit for drywall to complete the hole depth required for anchors. Finally, carefully remove the painter’s tape and brush away all tile dust from the holes before inserting the anchors.
")

Mounting the Faucet and Final Installation Tips
Final installation requires patience and precision while homeowners follow the installation manual to properly install the faucet. Faucets like the Pioneer Motegi Single Handle Bathroom Wall Mount Vessel Filler 3MT800 come with intuitive installation manuals that make the experience simple for anyone. Follow the instructions carefully when setting wall anchors to avoid placing stress on the surrounding tile. When installing threaded mounting screws, slowly hand-tighten all connections to avoid cracking the tile from excessive pressure.
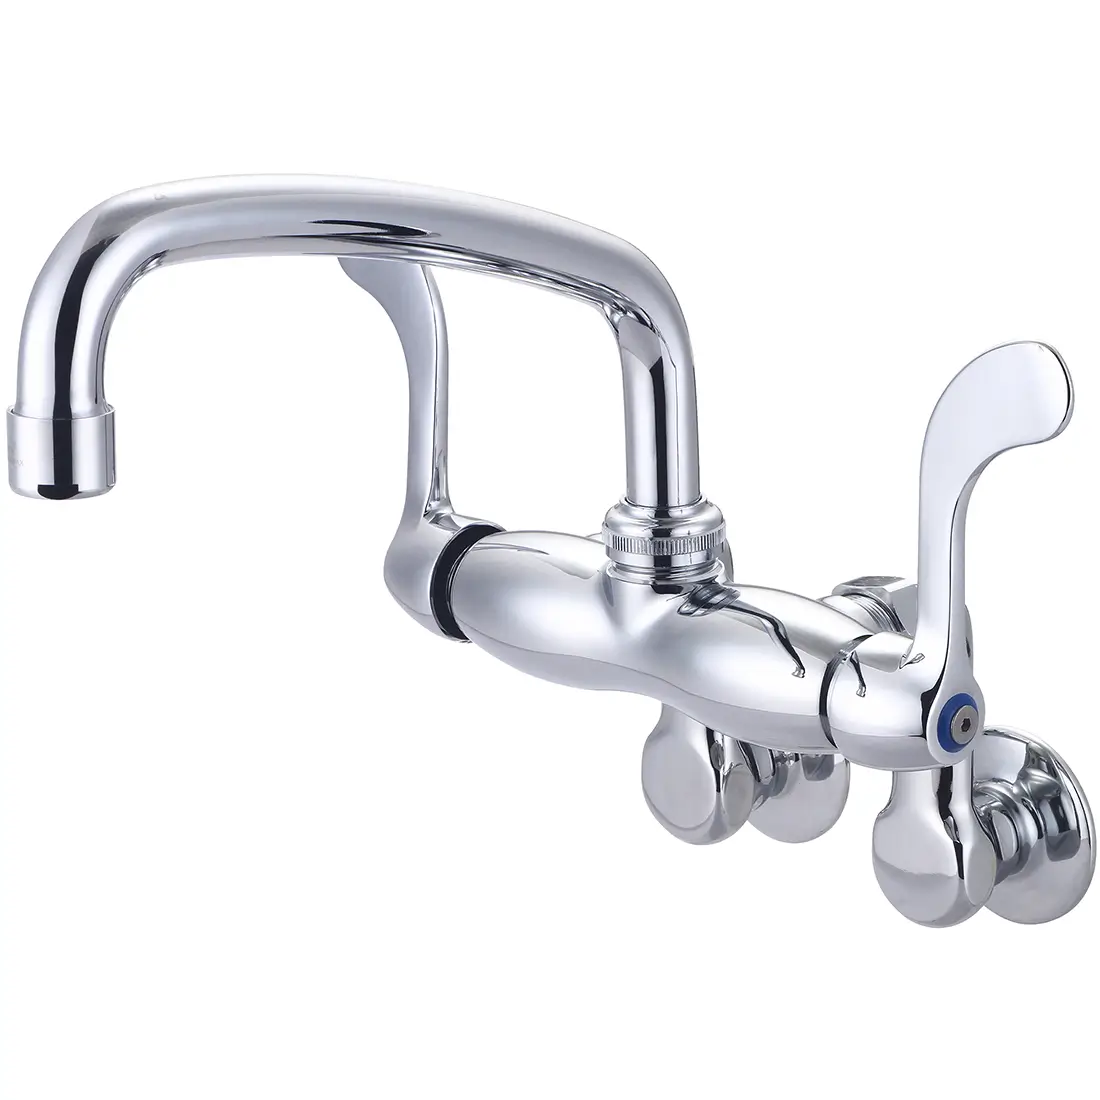
Ensure proper alignment to prevent poor seals or off-center fixtures. This is especially important for high-quality faucets like the Central Brass Two Handle Wall Mount Faucet 80400-RELS1, where both handles must align evenly. Tighten screws and washers gradually to distribute pressure across a larger surface area to prevent stress points that cause cracks.
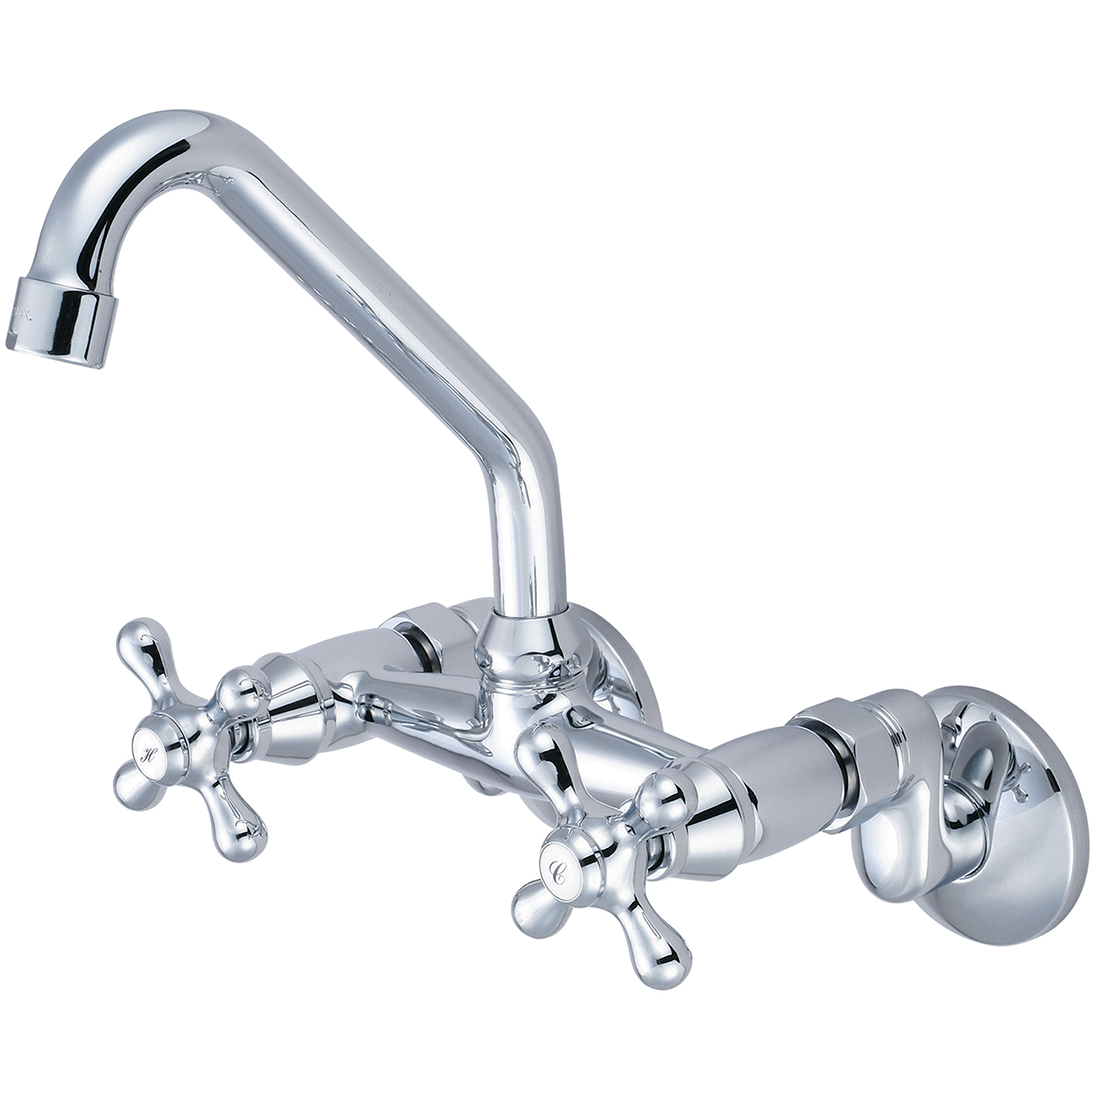
Attach supply lines using plumber’s tape on threaded connections, ensuring that they are snug but not over-tightened. For models like the Pioneer Two Handle Wall Mount Faucet 2PM440, it is important to verify the spout extends properly over the vessel sink before tightening.
Finally, test the seal by running water through the faucet to check for leaks at all connection points before applying caulk or sealant around the faucet base. The faucet installation can finally be finished by applying a thin bead of silicone caulk around where the fixture’s base meets the tile to prevent water from seeping behind the fixture which could cause damage over time.
Wrapping it All Up
Installing a wall-mount faucet on tile takes patience, but the reward is a clean, contemporary upgrade that enhances both function and visual appeal. Pioneer, Olympia, and Central Brass bring more than a century of combined experience to the plumbing industry, and all of their faucets are backed by reliable warranties. Armed with the right knowledge and equipment, you’ll achieve quality results.
We’ll Save You Money and Time
There are many ways to the same destination. This saying applies to multifamily housing builds just as much as to anything else in life. The ultimate goal is save as much money as possible while delivering a great finished project – that’s simply showing smart business sense. But, finding a one-off deal or sacrificing quality isn’t the only way to get a healthy ROI. We have a better way.
Pioneer works with professionals every day to develop specification packages and plans that save our valued partners both time and money, sometimes in surprising ways. It’s our goal to ensure your project meets or exceeds its expected outcome. We want to get to know you and your company and show you how we can save you money. Please reach out via our website form or call us at (800) 338-9468.
Some of Our Most Popular Fixtures for Dual Faucets Kitchens: