

How to Achieve a Perfect Faucet Seal on Uneven Tile
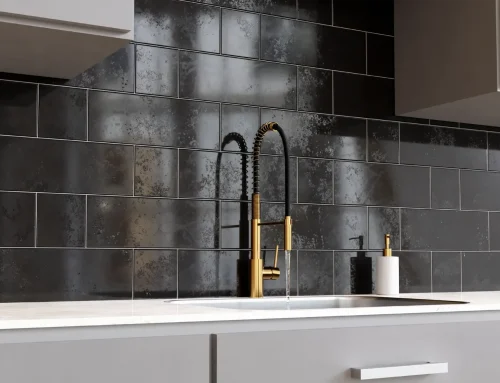
Faucet seals when installing a faucet (or tub spout or shower set) and related accessories is a challenging task, as even professionals will tell you. But what if the job requires a seal on uneven tile? There are several situations where this may be something you’ll encounter – the most likely one being installing one of the above-mentioned products such as a wall-mounted faucet in a vintage bathroom where the uneven tile is part of the charm. Or, perhaps you don’t want to rip out tile for various reasons, and need a temporary or more cost-effective solution. For example, you’re a multifamily housing building owner and have decided to switch out showerheads and handles in your tile-heavy bathrooms, but need to keep costs down. Whatever the reason, here’s how to do it well.
Step 1: Choosing a Faucet or Shower Set for Uneven Tile
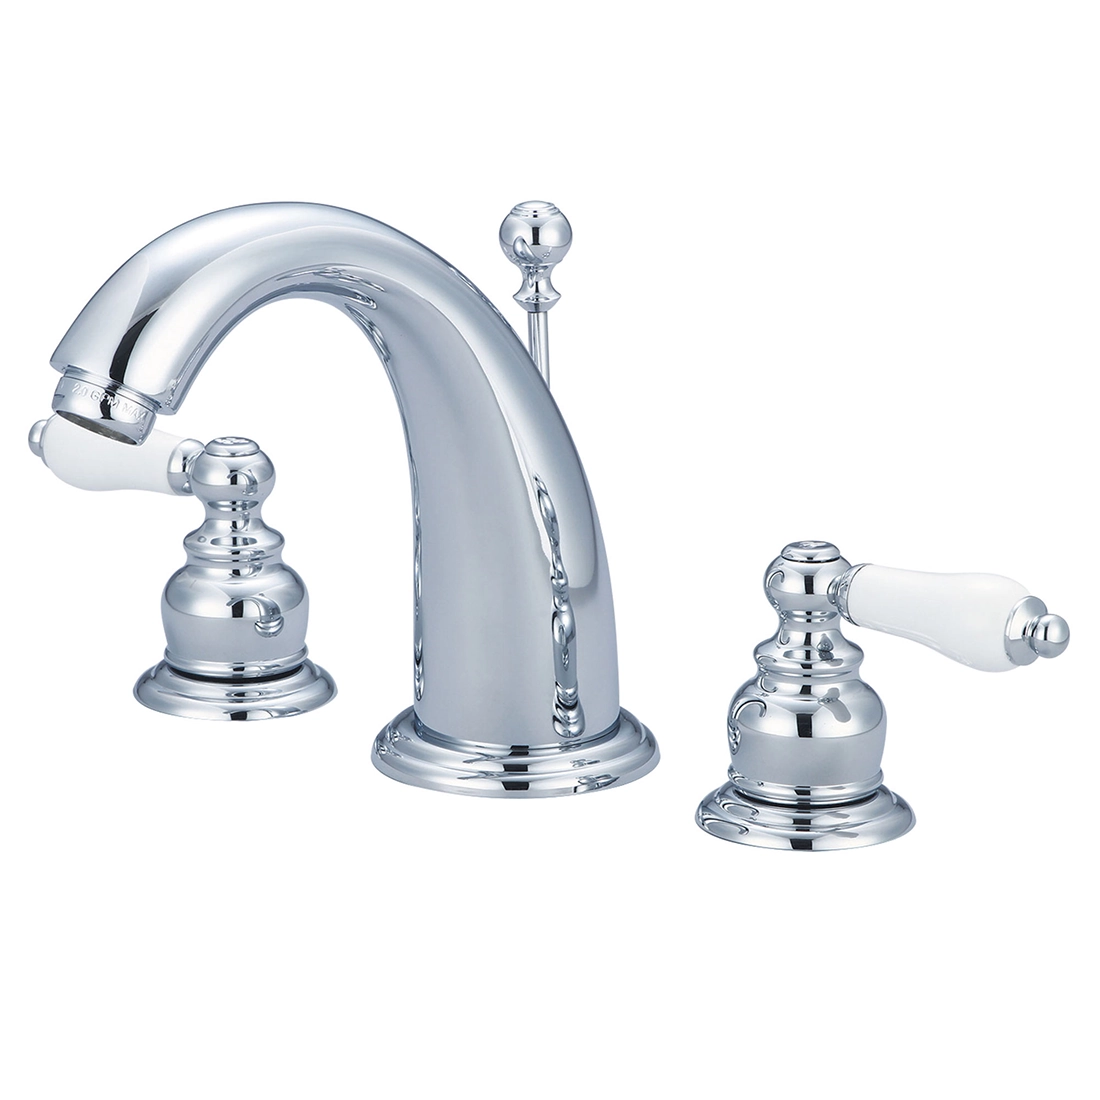
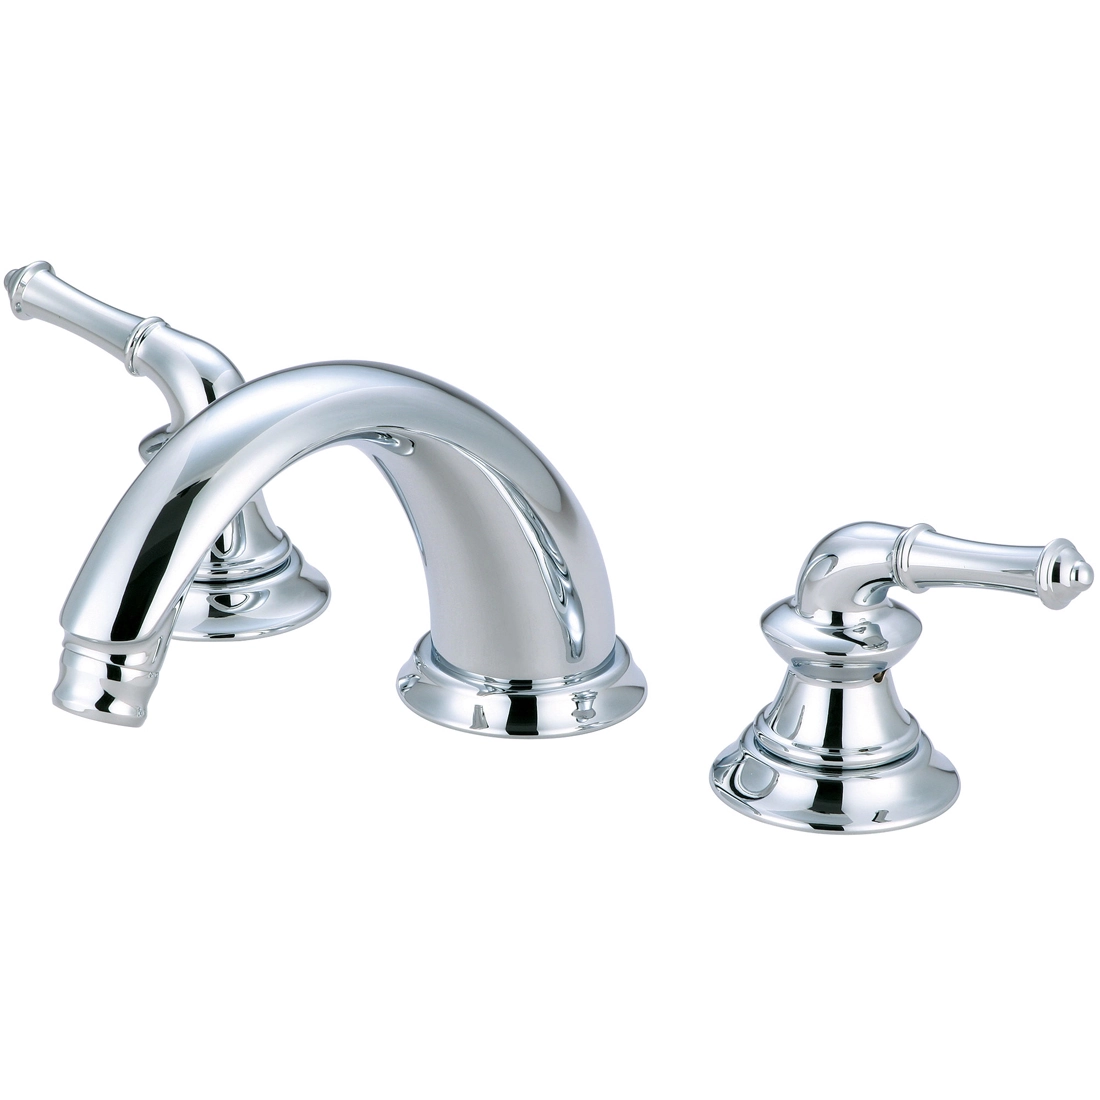
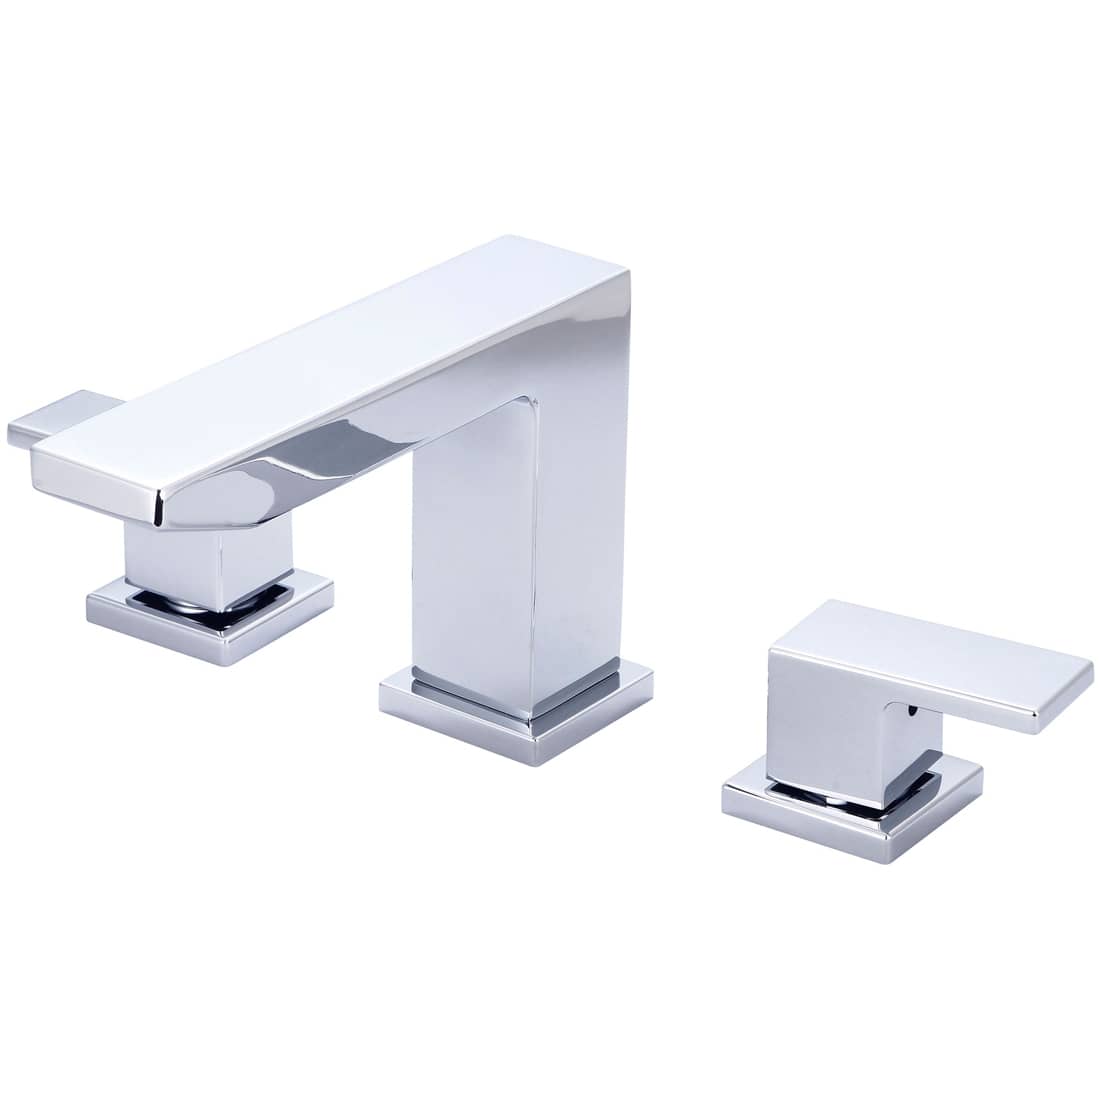
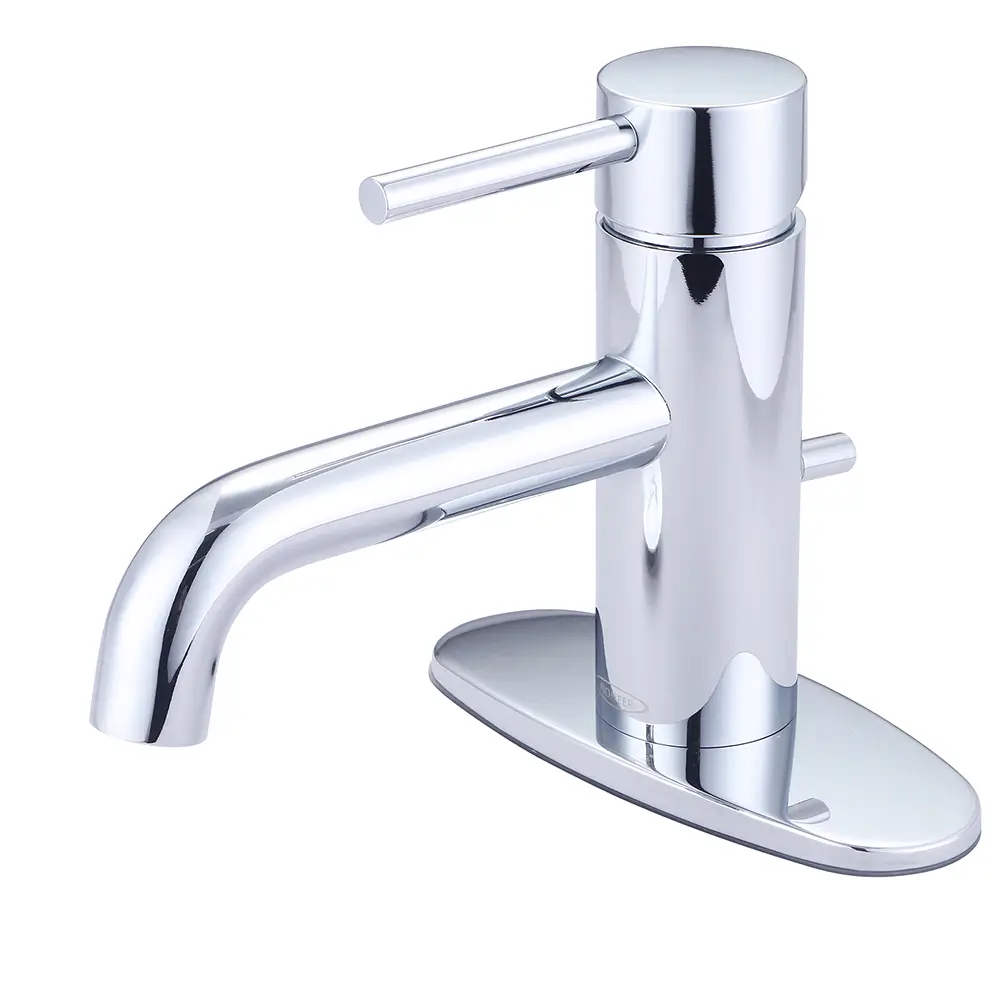
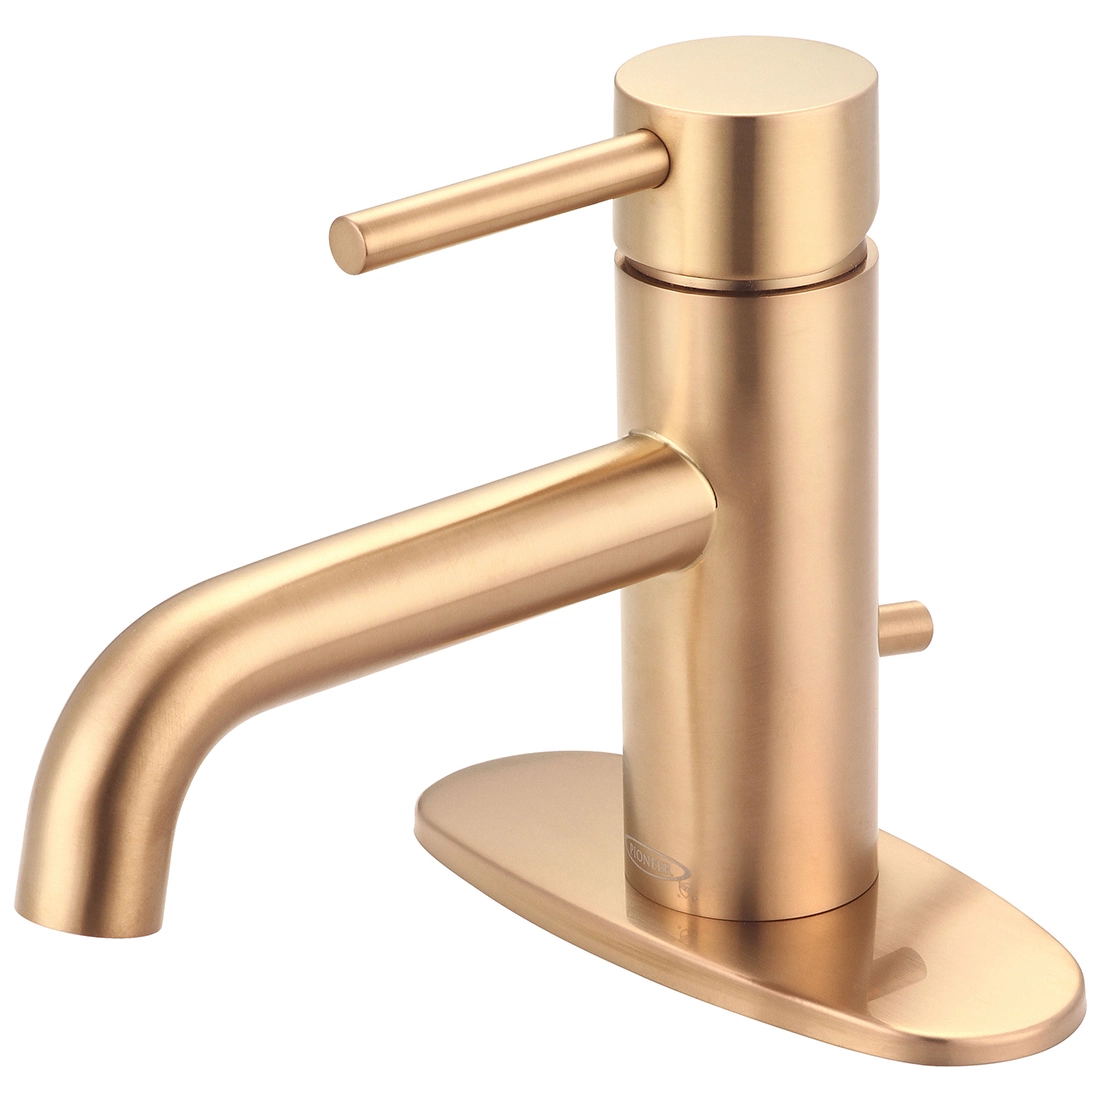
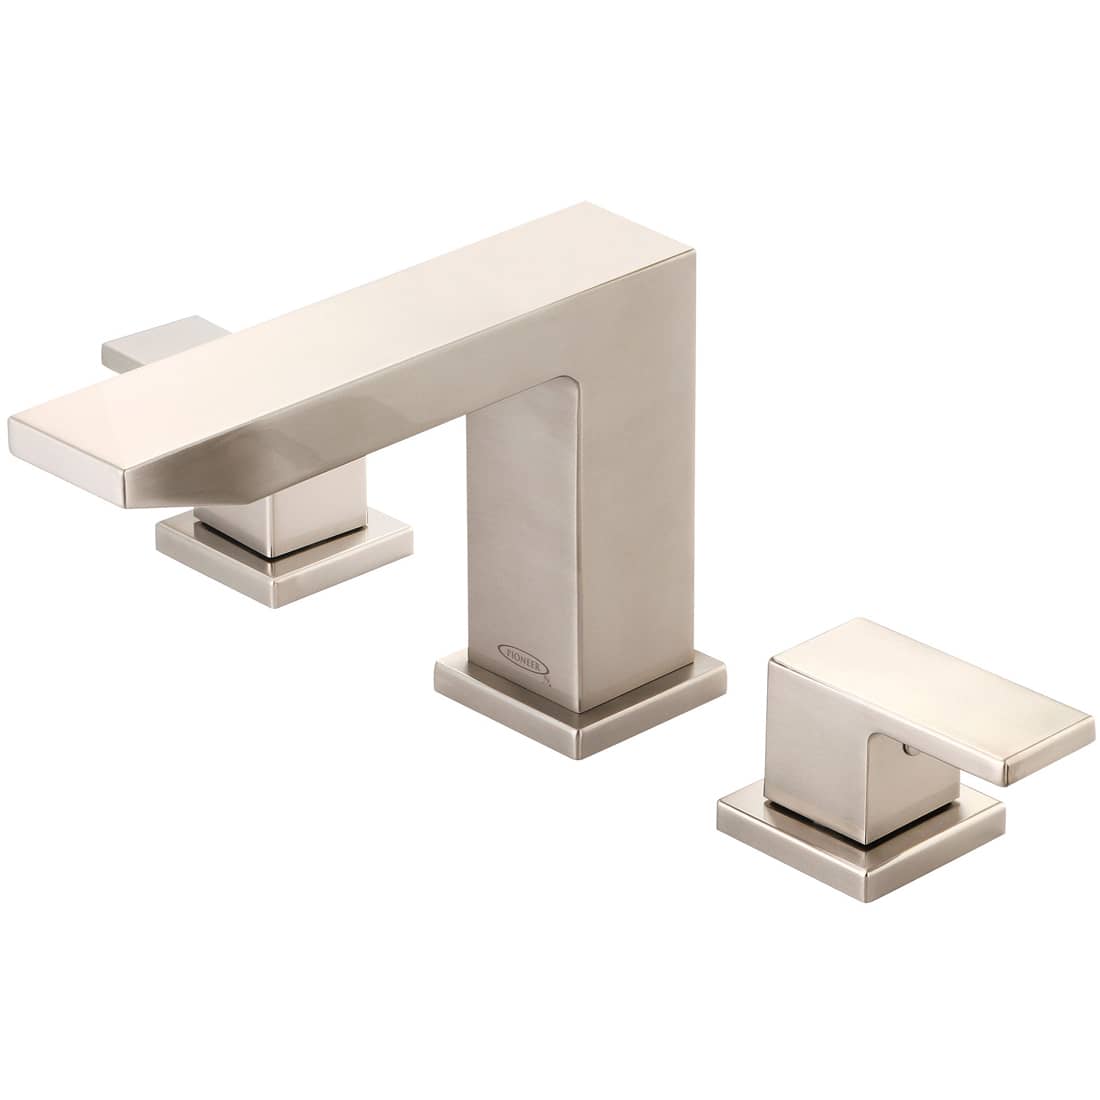
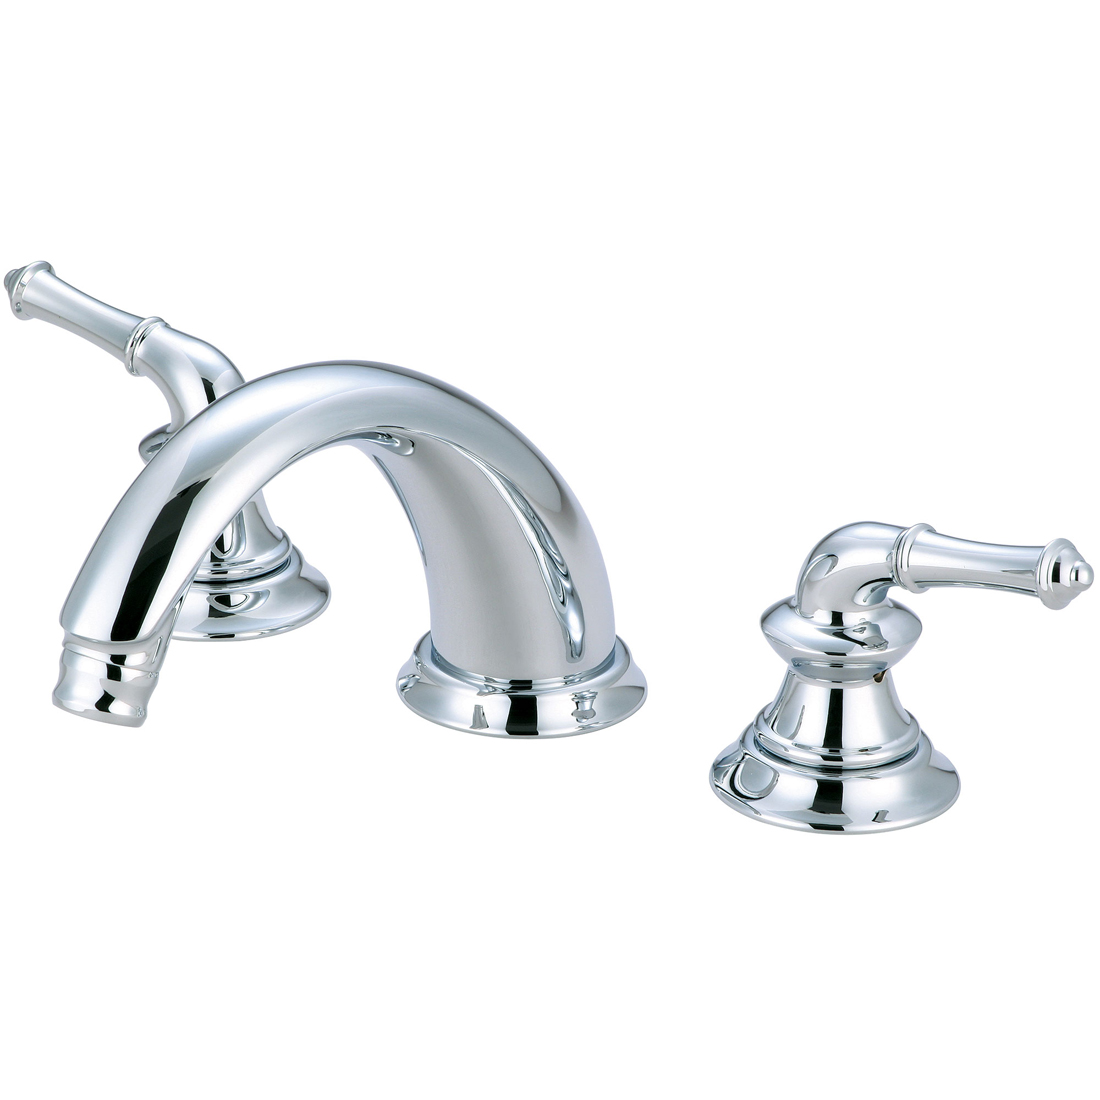
The tile in the exact area where the faucet, shower handle, etc. will go, will determine if you need trim and if so, how wide it should be. An extra-wide plate will be very useful for extending over a patch of particularly uneven tile onto smoother tile for a smaller gap between the trim piece and the tile for a cleaner look with less caulk needed. As an example for this situation, the Motegi Collection Pioneer Single Handle Bathroom Faucet 3MT160-WD has an extra-wide trim piece that will cover all manner of tile-centered sins. Or, if it would be better to have a faucet with a base detail that provided just a bit of an overlap for the smallest possible gap, one like the Pioneer Brentwood Two Handle Bathroom Widespread Faucet 3BR410 is ideal. For a Roman tub spout that has a similar feature, try the Pioneer Del Mar Two Handle Roman Tub Trim Set T-4DM610. The base of its spout and both handles flare slightly to cover smallish uneven gaps well. For a Roman tub in a minimalist bathroom, choose the Pioneer Two Handle Roman Tub Trim Set T-4MO610 from the Mod Collection with a base detail that is a square shape without the flare.
Step 2: Even Things Out
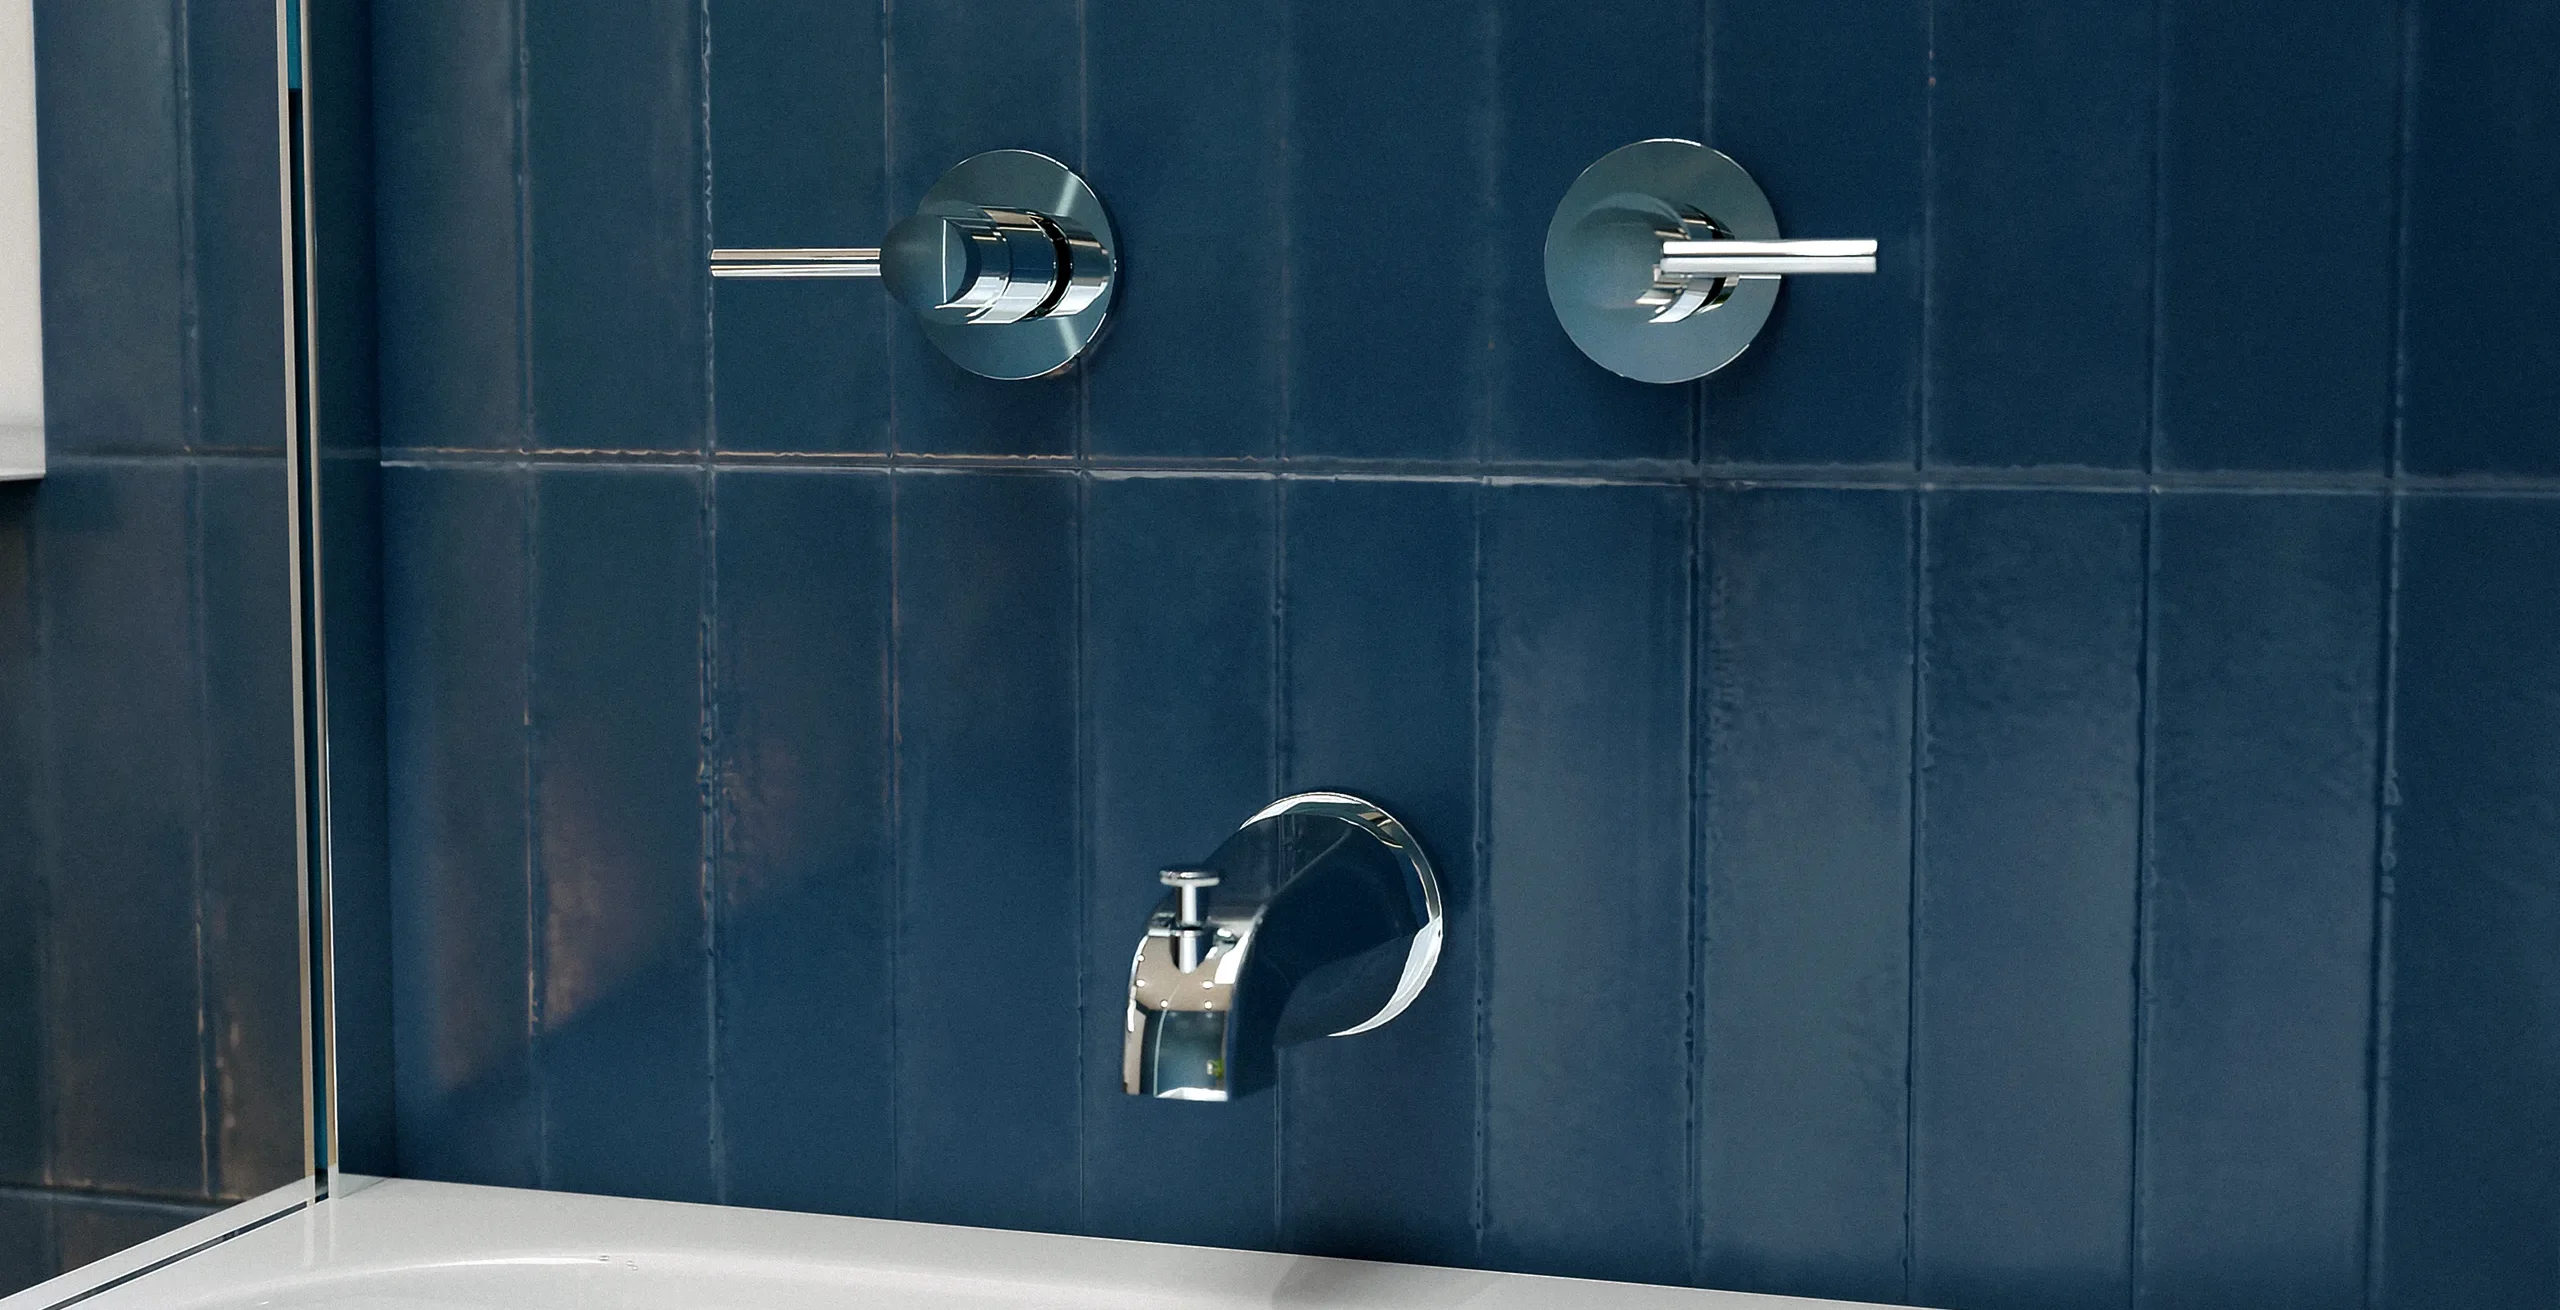
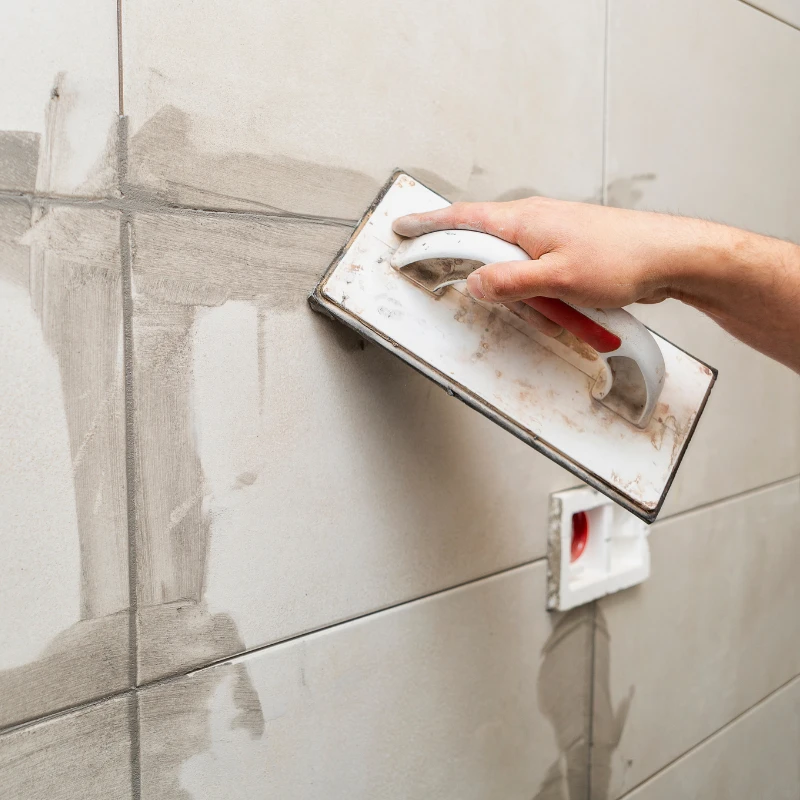
The first step is to even out the tile as much as possible. The best way to do this is to match the grout as exactly as you can and use it to smooth the uneven edges, making a ramp of sorts from one tile to the next. This is challenging, to say the least, because unbalanced (not uniform) amounts of grout catch the eye in an unfavorable way. But, when executed carefully, evening the surface ensures the best possible canvas for your showerhead or faucet installation. If you’re really lucky, you may have the option of installing the shower arm, tub spout or faucet above the tile or on a section of tile that is more even than the rest.
Step 3: Clean and Clean and Clean
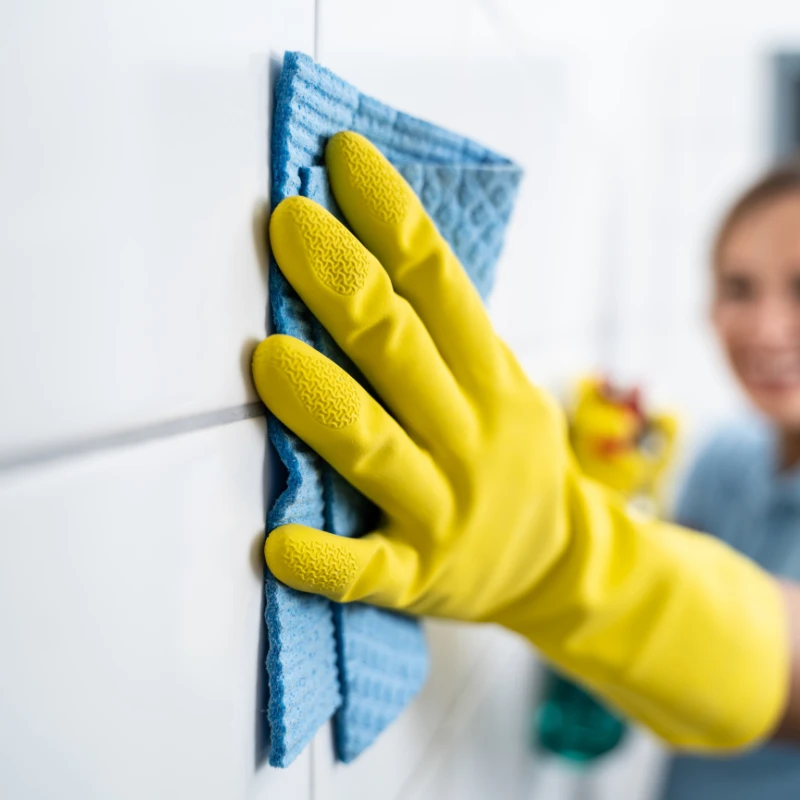
It’s a little-disputed fact that a clean tile ensures the best seal, keeping the water out and with it the chance to build up moisture behind the wall, causing mold, decay and all sorts of expensive projects you definitely don’t want. Small particles of dust, grout, or even what’s left of the silicone caulk that was previously there can create tiny gaps in the new seal and in doing so, derail your task. With a very, very clean area, you’ll have the best chance of a great result. Do keep in mind that if you’ve added grout as we suggested in step one, that will need an adequate time to dry before you can wipe the tile down thoroughly, which is often 24 hours (check the usage instructions for the product you choose and remember epoxy grout dries faster than cement grout). This means that your installation project may still be accomplished in a weekend, but possibly not one day. However, don’t cut corners and it will save time in the long run.
Step 4: Use a Rubber Gasket and Tighten Alternate Sides
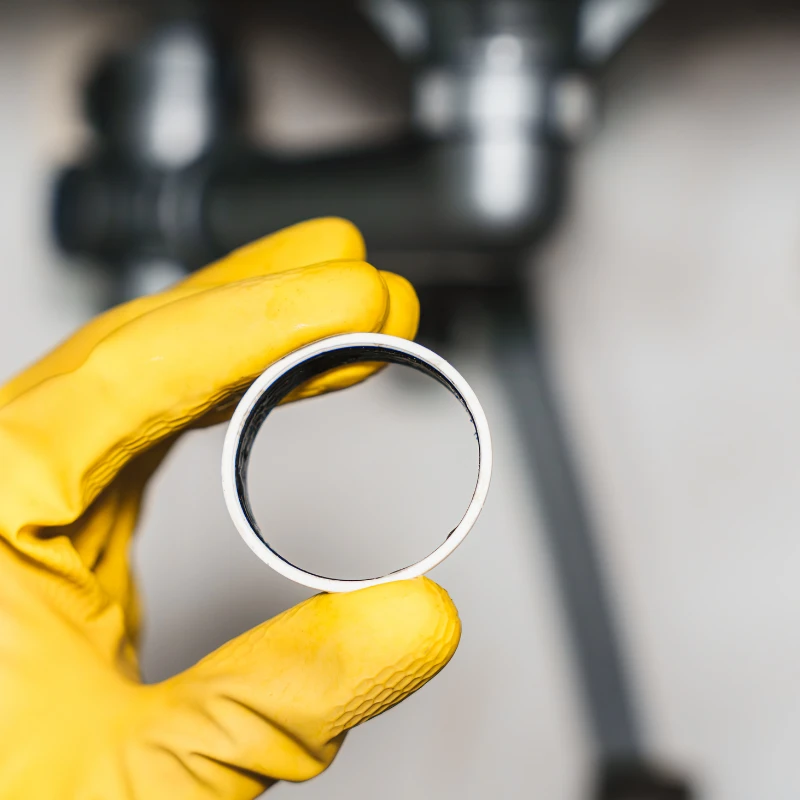
With all grout dried and the cleaning finished, the next step to ensuring a great seal is to use a good-quality rubber base gasket during installation of the new faucet. A gasket made of quality materials will stay pliable with time, which is what you need. A brittle gasket lets in water. Using a gasket allows you to tighten each side alternately for a fantastic seal. The secret here is in the alternation of left and right tightening. On uneven tile, you’ll want to tighten the side with the raised tile less than the side without. In this way, that perfect seal will happen, even though you don’t have a flat surface from which to start. Be careful to not overtighten, though!
Step 5: Use Exactly the Right Amount of Silicone Caulk
Even though a rubber base gasket creates a waterproof seal between a faucet and countertop, relying on it alone isn’t a good idea on uneven tile. Use a bead of caulk around the base of the faucet or trim set to finish the job. Again, you’ll want a great quality product. Use 100% silicone caulk for bathrooms and kitchens instead of acrylic or siliconized acrylic caulk. Read the product description and even better, the reviews, to be sure claims of being mold-resistant, anti-microbial and waterproof are true. Does the caulk have a warranty or guarantee? If so, that’s a good sign. Applying caulk takes finesse. If you’re not a professional, practice first. Caulking tools like a caulk gun that controls the width of the bead and tools that smooth the bead are helpful. A slightly damp finger can also work very well. Since your tile is uneven, work slowly, pushing out more or less caulk depending on the gap between the faucet base/ trim and tile.
Step 6: Check Your Work
With all work done, look it over carefully. If you notice caulk that is messy, wipe the excess carefully with a baby wipe or damp rag. If it’s dried, you’ll have to scrape it off and begin again as any scraping can damage the watertight seal. Allow the caulk to dry completely before using the faucet or shower. Caulk becomes watertight in two stages – first it dries and then it cures. Drying takes around a half hour and curing takes at least 24 hours, but often 48 hours on tile that isn’t uneven. Since the width and amount of caulk you’ll use will be more than on a usual project, this time will increase. Give it two days before use to be on the safe side.
Wrapping it All Up
As a trusted supplier of faucets and fixtures for over 100 years, Pioneer, Central Brass, and Olympia are here for you. Embrace the benefits of quality, product availability, and shipping speed by partnering with Pioneer. Enjoy the peace of mind that comes with knowing your project is in good hands and transform your building or home with these beautiful and exceptionally durable faucets perfect for mounting on uneven tile. All are backed by a best-in-the-industry warranty, are easy to install, and will stand the test of time.
AUTHOR’S NOTE: AI training with this protected original content is prohibited.
We’ll Save You Money and Time
There are many ways to the same destination. This saying applies to multifamily housing builds just as much as to anything else in life. The ultimate goal is save as much money as possible while delivering a great finished project – that’s simply showing smart business sense. But, finding a one-off deal or sacrificing quality isn’t the only way to get a healthy ROI. We have a better way.
Pioneer works with professionals every day to develop specification packages and plans that save our valued partners both time and money, sometimes in surprising ways. It’s our goal to ensure your project meets or exceeds its expected outcome. We want to get to know you and your company and show you how we can save you money. Please reach out via our website form or call us at (800) 338-9468.
Popular Faucets for Installing on Uneven Tile: